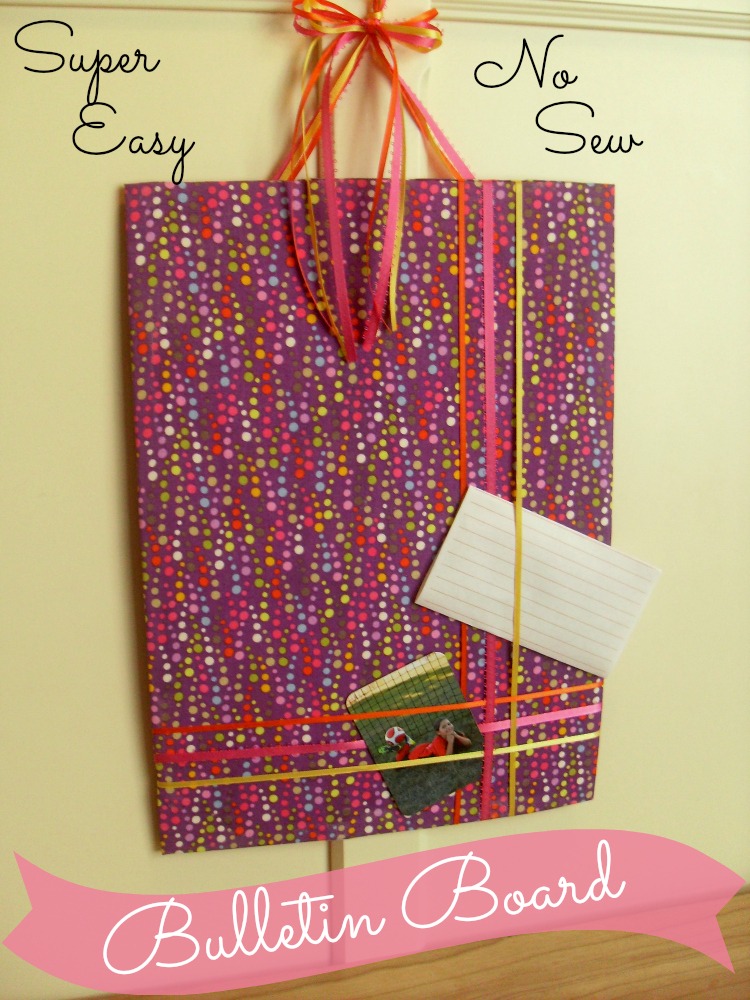
We can all use something to organize important papers as they come in. Before, I just hung mine up on the refrigerator. Now, though, I have a pretty bulletin board to put them on! And guess what? It is super easy to make! It’s really cheap to make, so you could even make one for each holiday to display, if it will be where company will see it!
DIY Bulletin Board
Supplies:
- 1 Piece of Corrugated Cardboard (I used a rectangle cake board, but you could upcycle a diaper box or any other cardboard in the shape and size you want.)
- Fabric – Enough to cover the front and back of the cardboard.
- Fabric Glue
- Ribbon
- Hot Glue and Glue Gun
- Scissors
Cut the piece of fabric so that it is large enough to cover the front and back of the cardboard you have chosen with enough to overlap at least an inch.
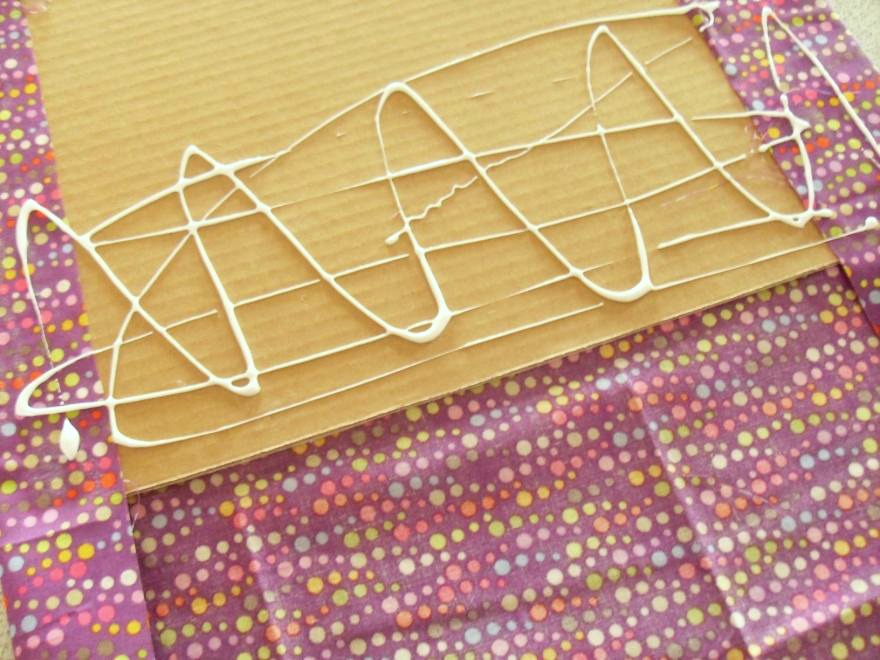
Generously cover the front of the cardboard with fabric glue.
Smooth the fabric over the front of the cardboard, firmly pressing it into the glue. Make sure to pull the fabric tight to remove any wrinkles or bubbles. Allow the glue to dry completely before continuing.
Turn cardboard over and spread glue across the back. Pull fabric tight and press into the glue.
Fold the short sides of fabric in and glue first, then the ends. Be sure to keep the fabric pulled tight as you fold and glue.
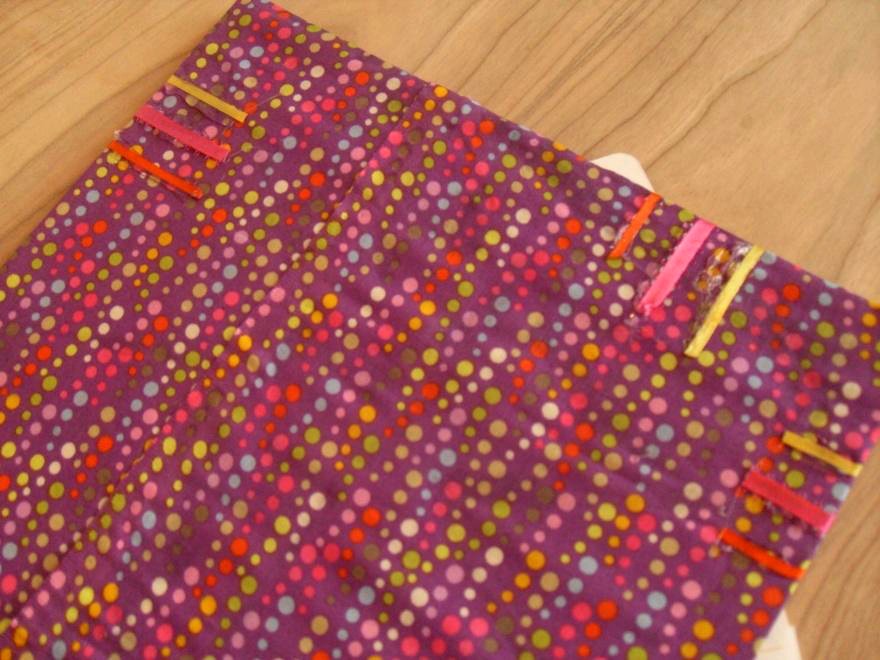
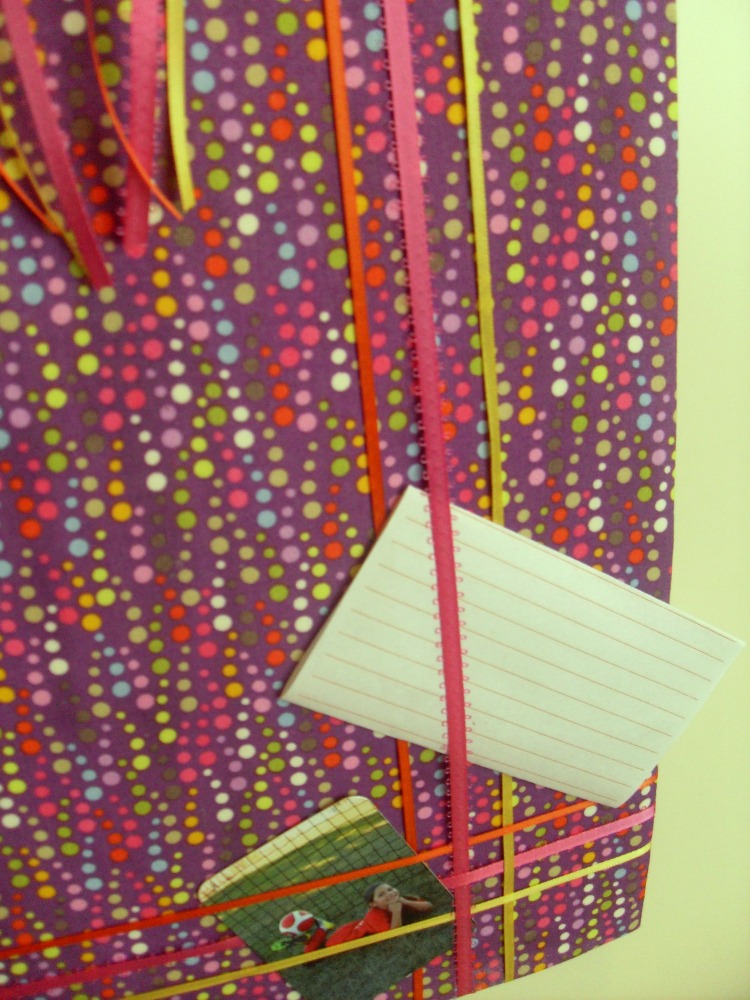
Cut ribbon in lengths long enough to span the front of the cardboard and overlap onto the back approximately an inch.
Lay out the pattern of the ribbon and glue only on the back with the hot glue.
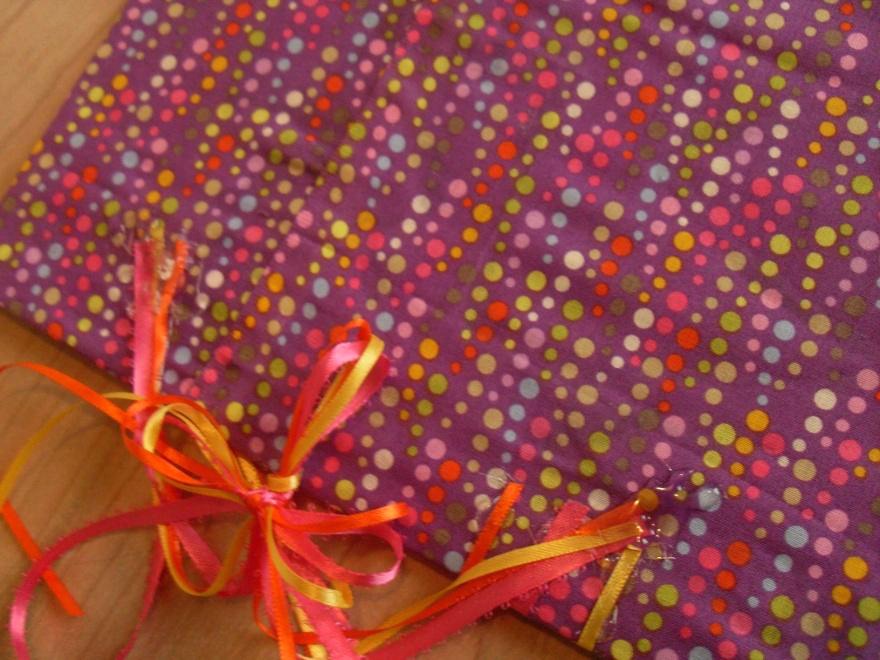
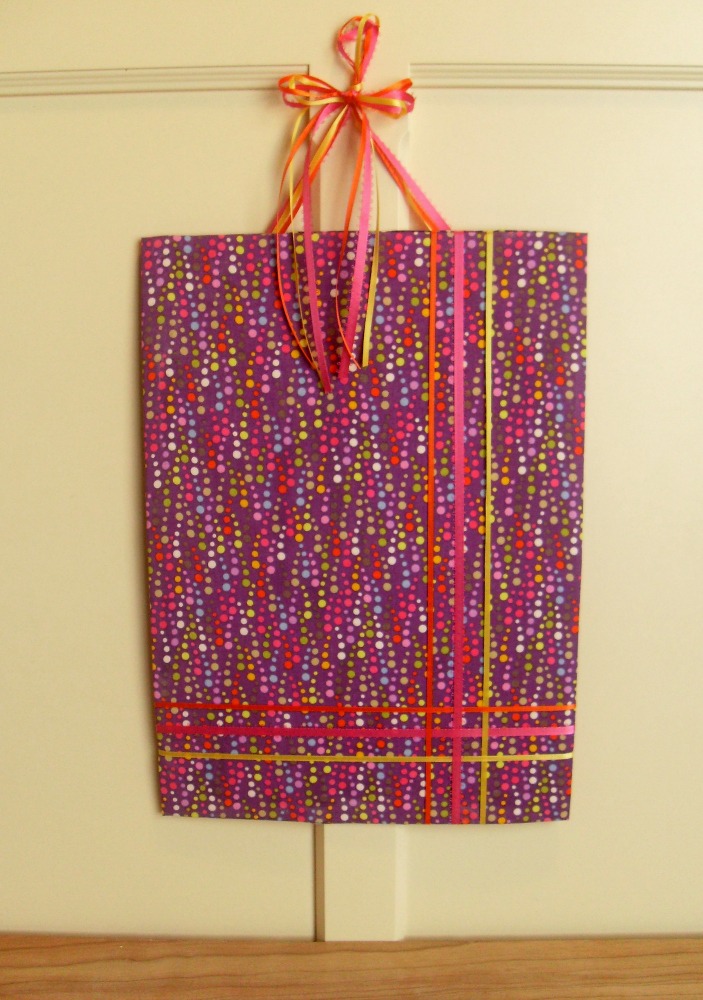
Cut another length of each ribbon to use to hang the bulletin board. You’ll want it to be long enough to tie a loop knot in the middle and glue it to the back of the bulletin board.
Note: I wanted the back to be covered but was not as concerned about it being perfect as no one should ever see it.
To add a little something extra to the bulletin board, I also tied a bow of the three matching colors of ribbon around the top of the ribbon hanger!
Make sure the glue is all the way dry before using. Hang and enjoy!
I’m a 20-something stay-at-home mother and wife. I have an amazing husband, a beautiful daughter, two loving dogs, and a lazy cat. I wouldn’t change my life for anything! I love to read, listen to music, cook and blog!

What a simple yet too cute idea for keeping up with little notes and pictures. Love that it requires no sewing!
So cute! I bet this would be a great gift for Teachers at end of school year too! Totally bookmarking this one!
Love that it looks like it could be sewn, but no need to pull out the sewing machine!
Wahoo I like the no sew aspect because.. I can’t .. My mom is so crafty ..all i can do is make a mess!!
So cute and how have I never thought of this before?!
What a great way to add a pop of color to any room!
What a neat idea- and super easy too! Thanks for the tutorial!
Super easy.. LOVE THIS
An easy and super cute idea!
I love that this can be made without sewing. We could use something like this in our kitchen!
Super cute and what a great use of recycling materials too!
I LOVE how you used the ribbon here! I’ve seen a number of “Pinspirational” posts and images about bulletins, but I haven’t seen this unique (and functional!) twist before. I’d love to incorporate this into the bulletin board that I’m currently “making over.” Thank you so much!