St. Patrick’s day is always one of my favorite holidays! Of course that may be because I am part Irish. 🙂 A fun way to celebrate the holiday is to wear green – you certainly don’t want to get pinched! For kids, or even adults, this DIY Shamrock Shirt is fun and super easy to make!
DIY Shamrock Shirt
Materials
- Green T-Shirt
- Bleach Pen
- Cardboard
Instructions
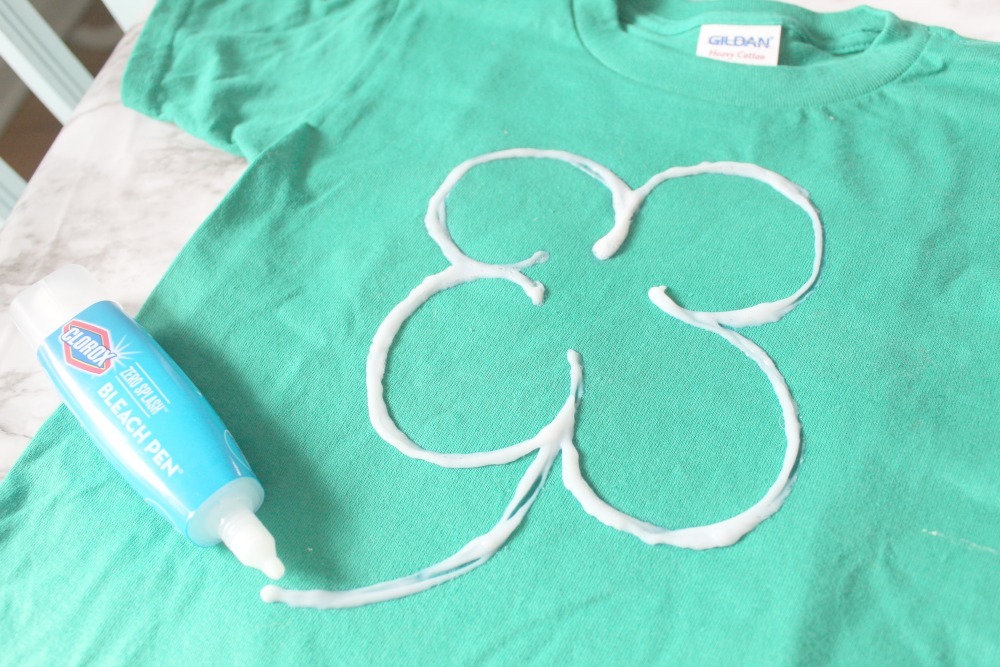
- Begin by laying the t-shirt on a flat surface. Slide a piece of cardboard in between the shirt so that your bleach does not soak through the other side. You can just use a flat shirt box if you wish.
- Take your bleach pen and try making some smooth lines on a piece of paper. This will help you figure out the best way to hold the pen and how much pressure to put on it.
- You can now create the shamrock shape. Don't worry about a stencil - if you want, you can take a pencil and lightly sketch the design on the shirt first. We just moved slow and made the clover design you see here.
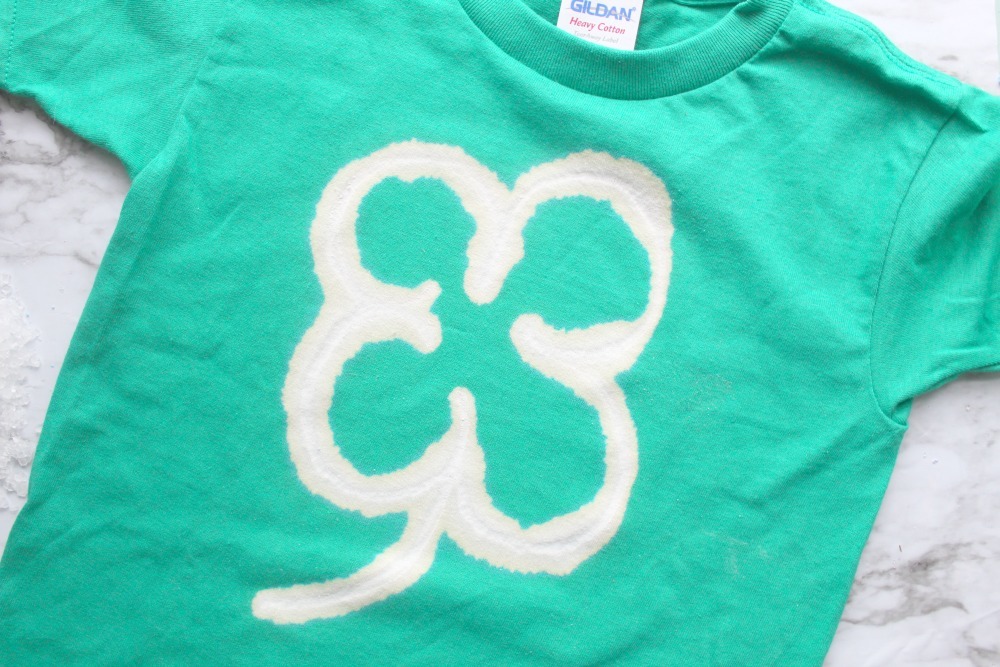
- Let the shirt sit in an undisturbed place for 8-10 hours. The design will spread and turn bright white. The new clover will look about 2-3 times bigger than the design you made, so be prepared for it to spread out.
- Once the design is dry, peel away any flakes of dry bleach. Rinse the shirt well in cold water and then hang and let air dry. It is not ready to be worn!

For other great St. Patrick’s Day activities and recipes, check out these posts:

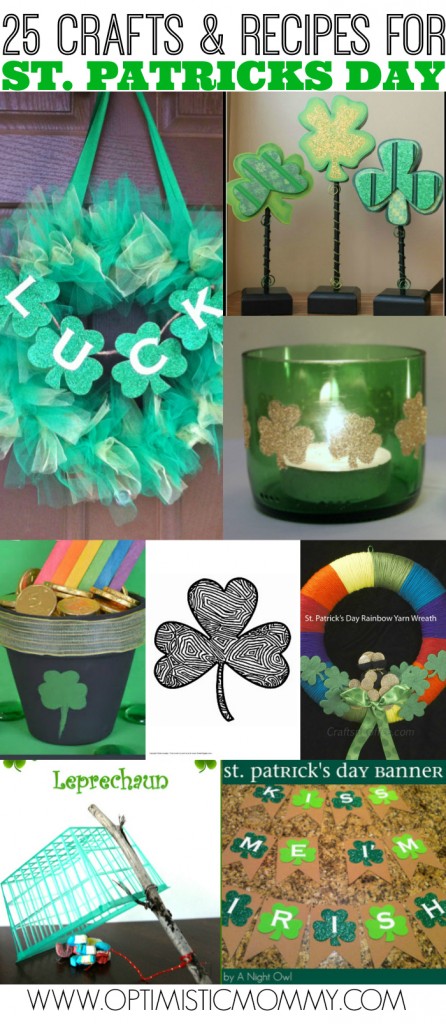
25 Crafts & Recipes for St. Patrick’s Day 
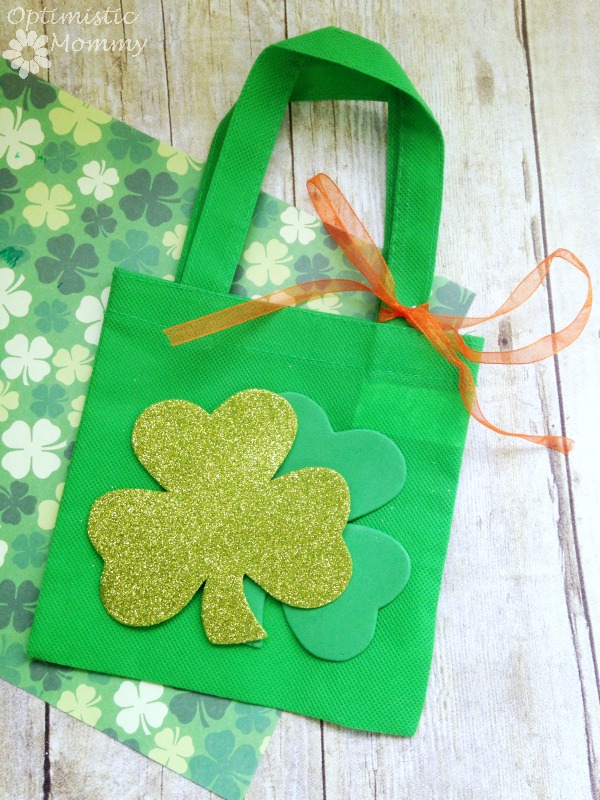
St. Patrick’s Day Treat Bag 
St. Patrick’s Day Centerpiece

I’m a 20-something stay-at-home mother and wife. I have an amazing husband, a beautiful daughter, two loving dogs, and a lazy cat. I wouldn’t change my life for anything! I love to read, listen to music, cook and blog!

Speak Your Mind