Today we live in a world of all things digital. Everything from music, movies and our precious memories! As someone who loves to take photo’s, I am a lover of prints! They don’t have to be made into some huge wall canvas but rather Popsicle Stick Frames!
Its time to have a little fun, print out some of our favorite shots and get those popsicle sticks out to get creative and fun!

Its time to dig through all those digital photo’s you have and get to printing them out. Time to get your memories off the screen and into those. Plus, this is such a fun craft for kids. They can have so much fun and be creative in so man ways! Let’s get started!!
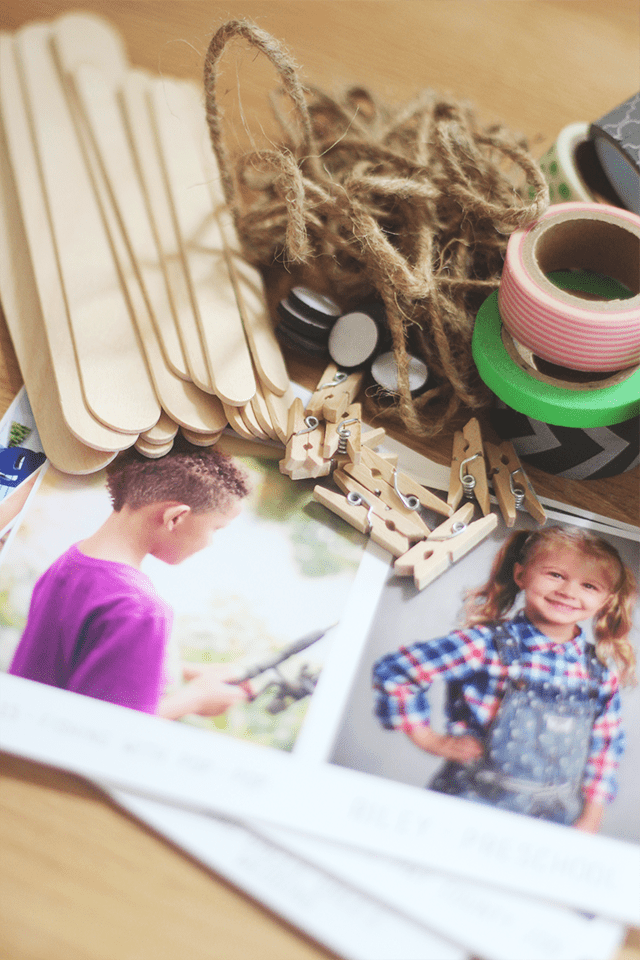
Supplies Needed
- Popsicle Sticks (Regular and/or Jumbo)
- Washi Tape
- Photos
- Twine
- Mini Clothespins
- Magnets
- Glue
- Scissors
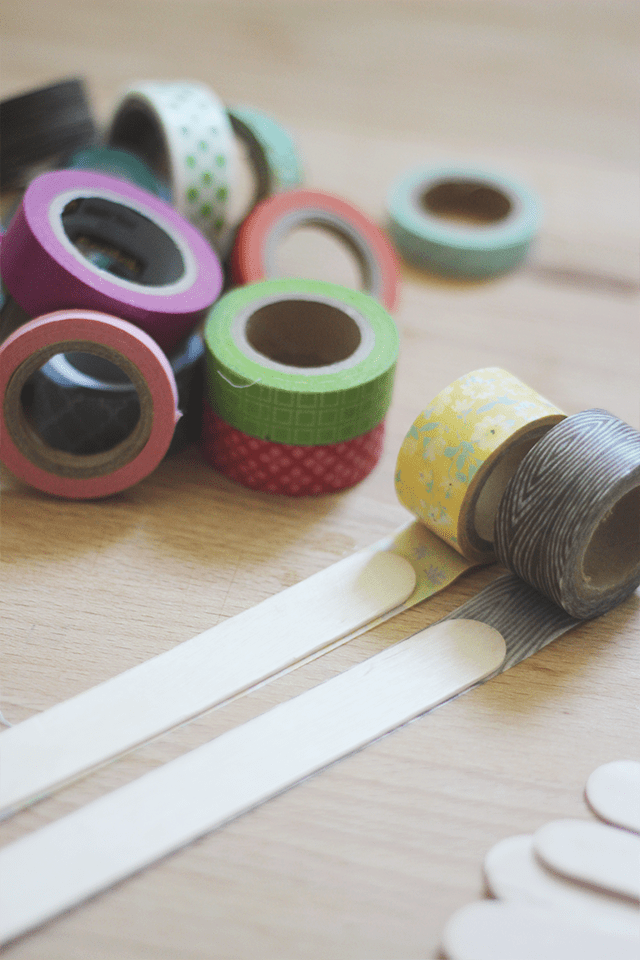
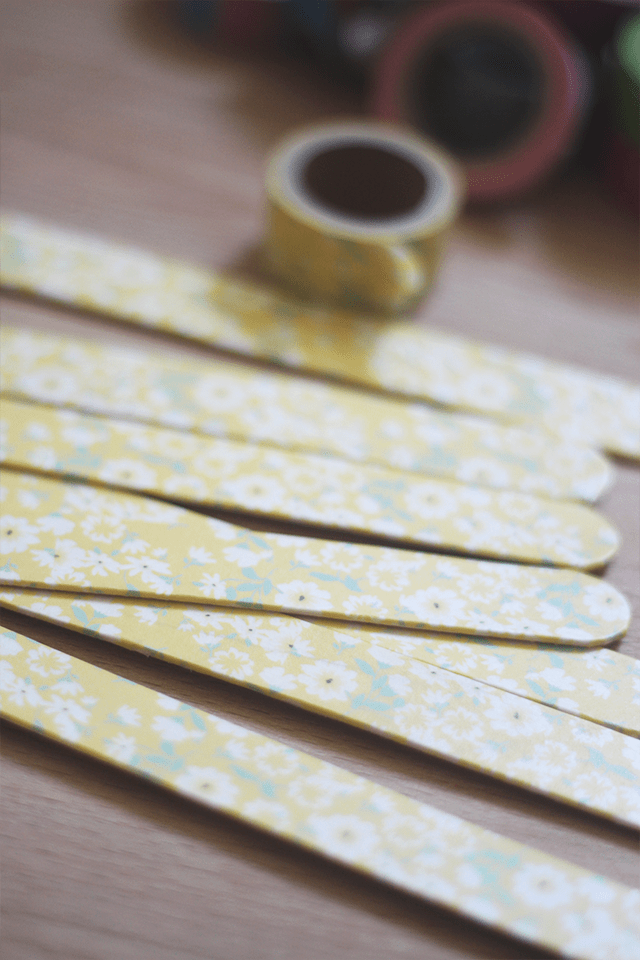
Step 01: Pick out your favorite wash tape. Start by unrolling it some and lay your popsicle stick down on the tape. Once the entire popsicle stick is covered, either cut or rip the tape. Now any extra tape around the popsicle stick can be handled a few different ways.
- You can wrap the extra tape around. This works well by using your nails. You can also so a little glue to help if needed.
- You can also go around and cut the edges off with scissors.
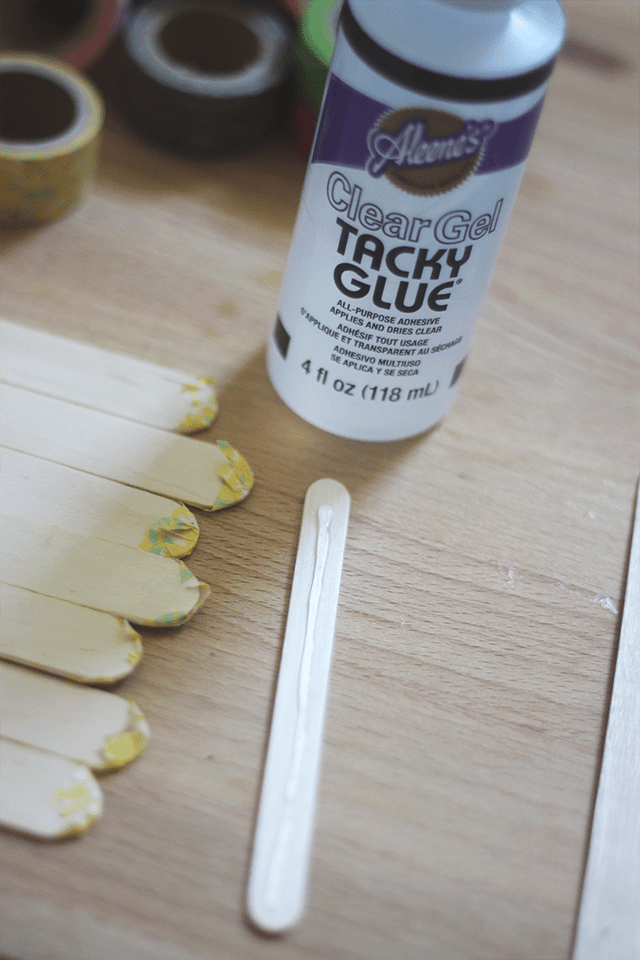
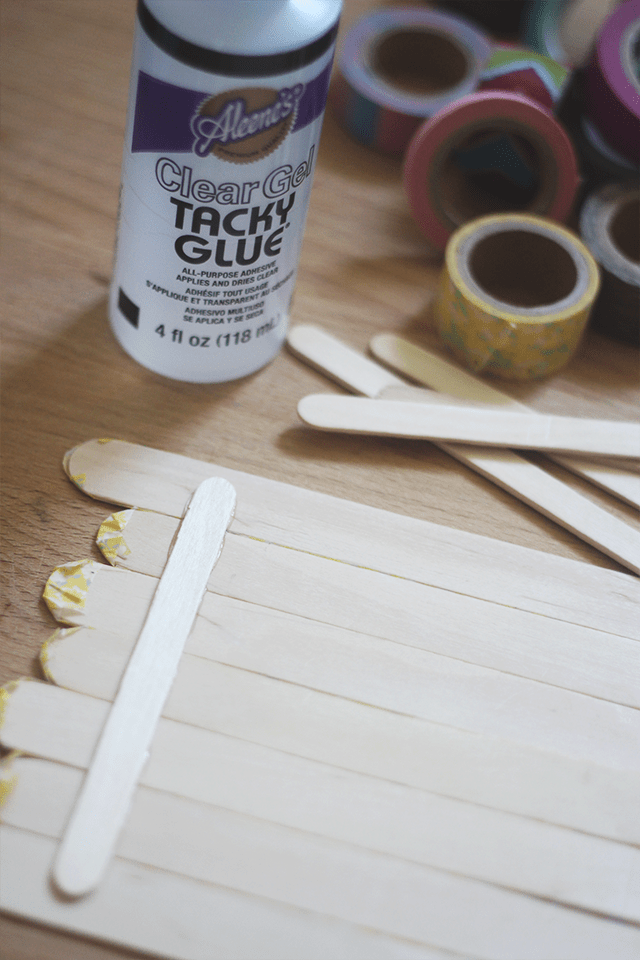
Step 02: Once you have all your popsicle sticks decorated with your washi tape lay them front side down and begin to line them up how you’d like them laid out. Once you have laid them out the way you’d like, take another popsicle stick and being putting glue on it. Once you have the popsicle stick covered in glue, just lay it on the back of your decorated popsicle sticks. This will allow the popsicle sticks to stay in place.
For each project, I used 3 popsicle sticks on the back. I place them on each end and one in the middle. This works well to secure the popsicle sticks stay where they belong.

Step 03: You have these beautiful frames that you have made but now the question becomes, where to place them? For me I chose to put magnets on them so I could put them on the fridge. Now these magnets are sticky but I choose to glue mine as well just to ensure that they hold up.
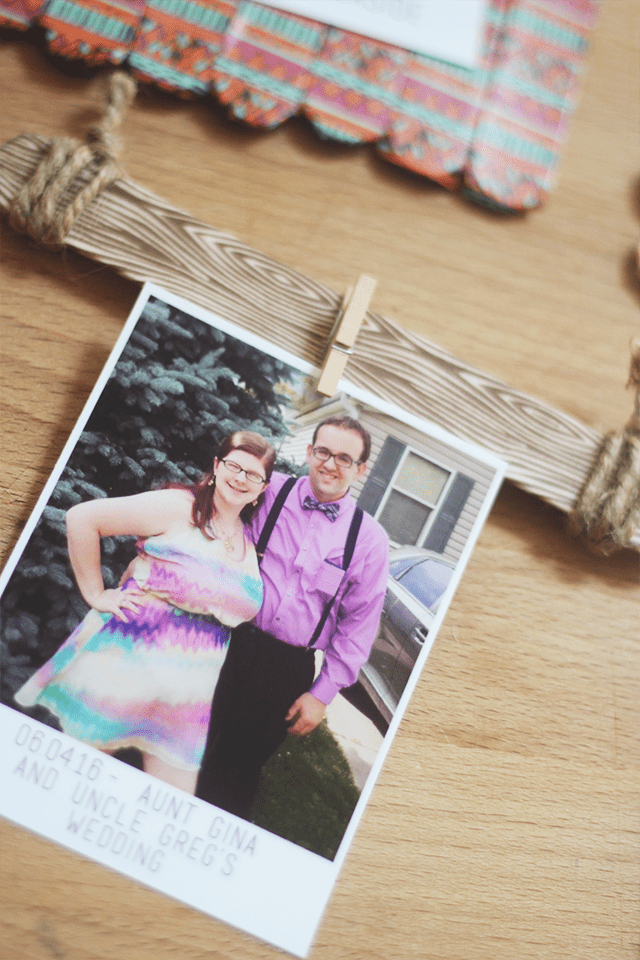
Step 04: The last step is to add your photos! There are so many different ways you can go about this. Try layering the Washi Tape down in different ways. Maybe clue them together before tapping them.
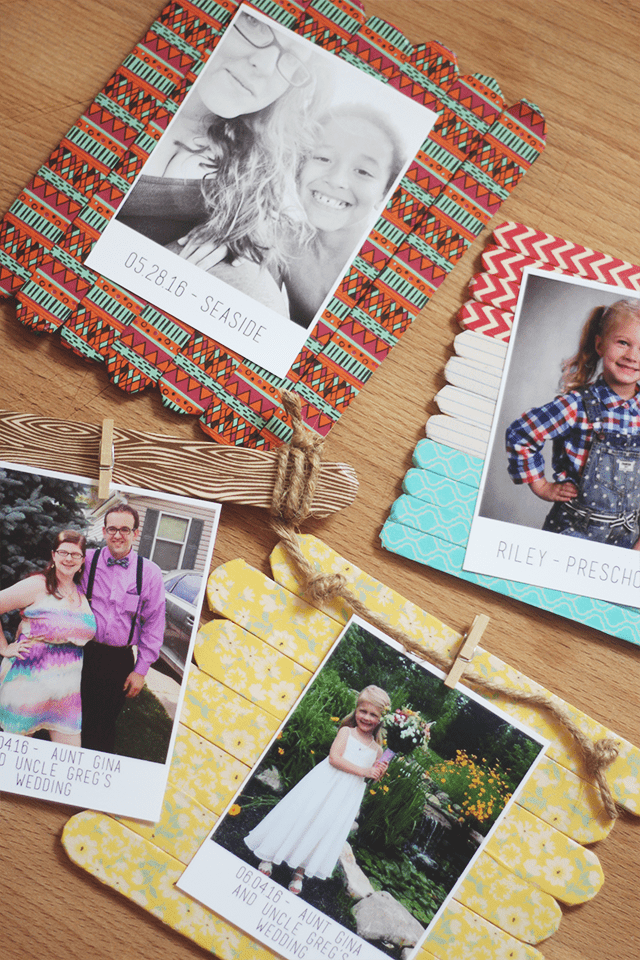
And last… Have fun! As you can see, I got pretty creative. I went wth matching the tape to the photo so they would compliment each other to a nice little rustic style with some twine and of course something pretty funky!
At the end of the craft, remember it’s not about being perfect, its all about having fun, showing off older memories all while creating new memories!!

Speak Your Mind