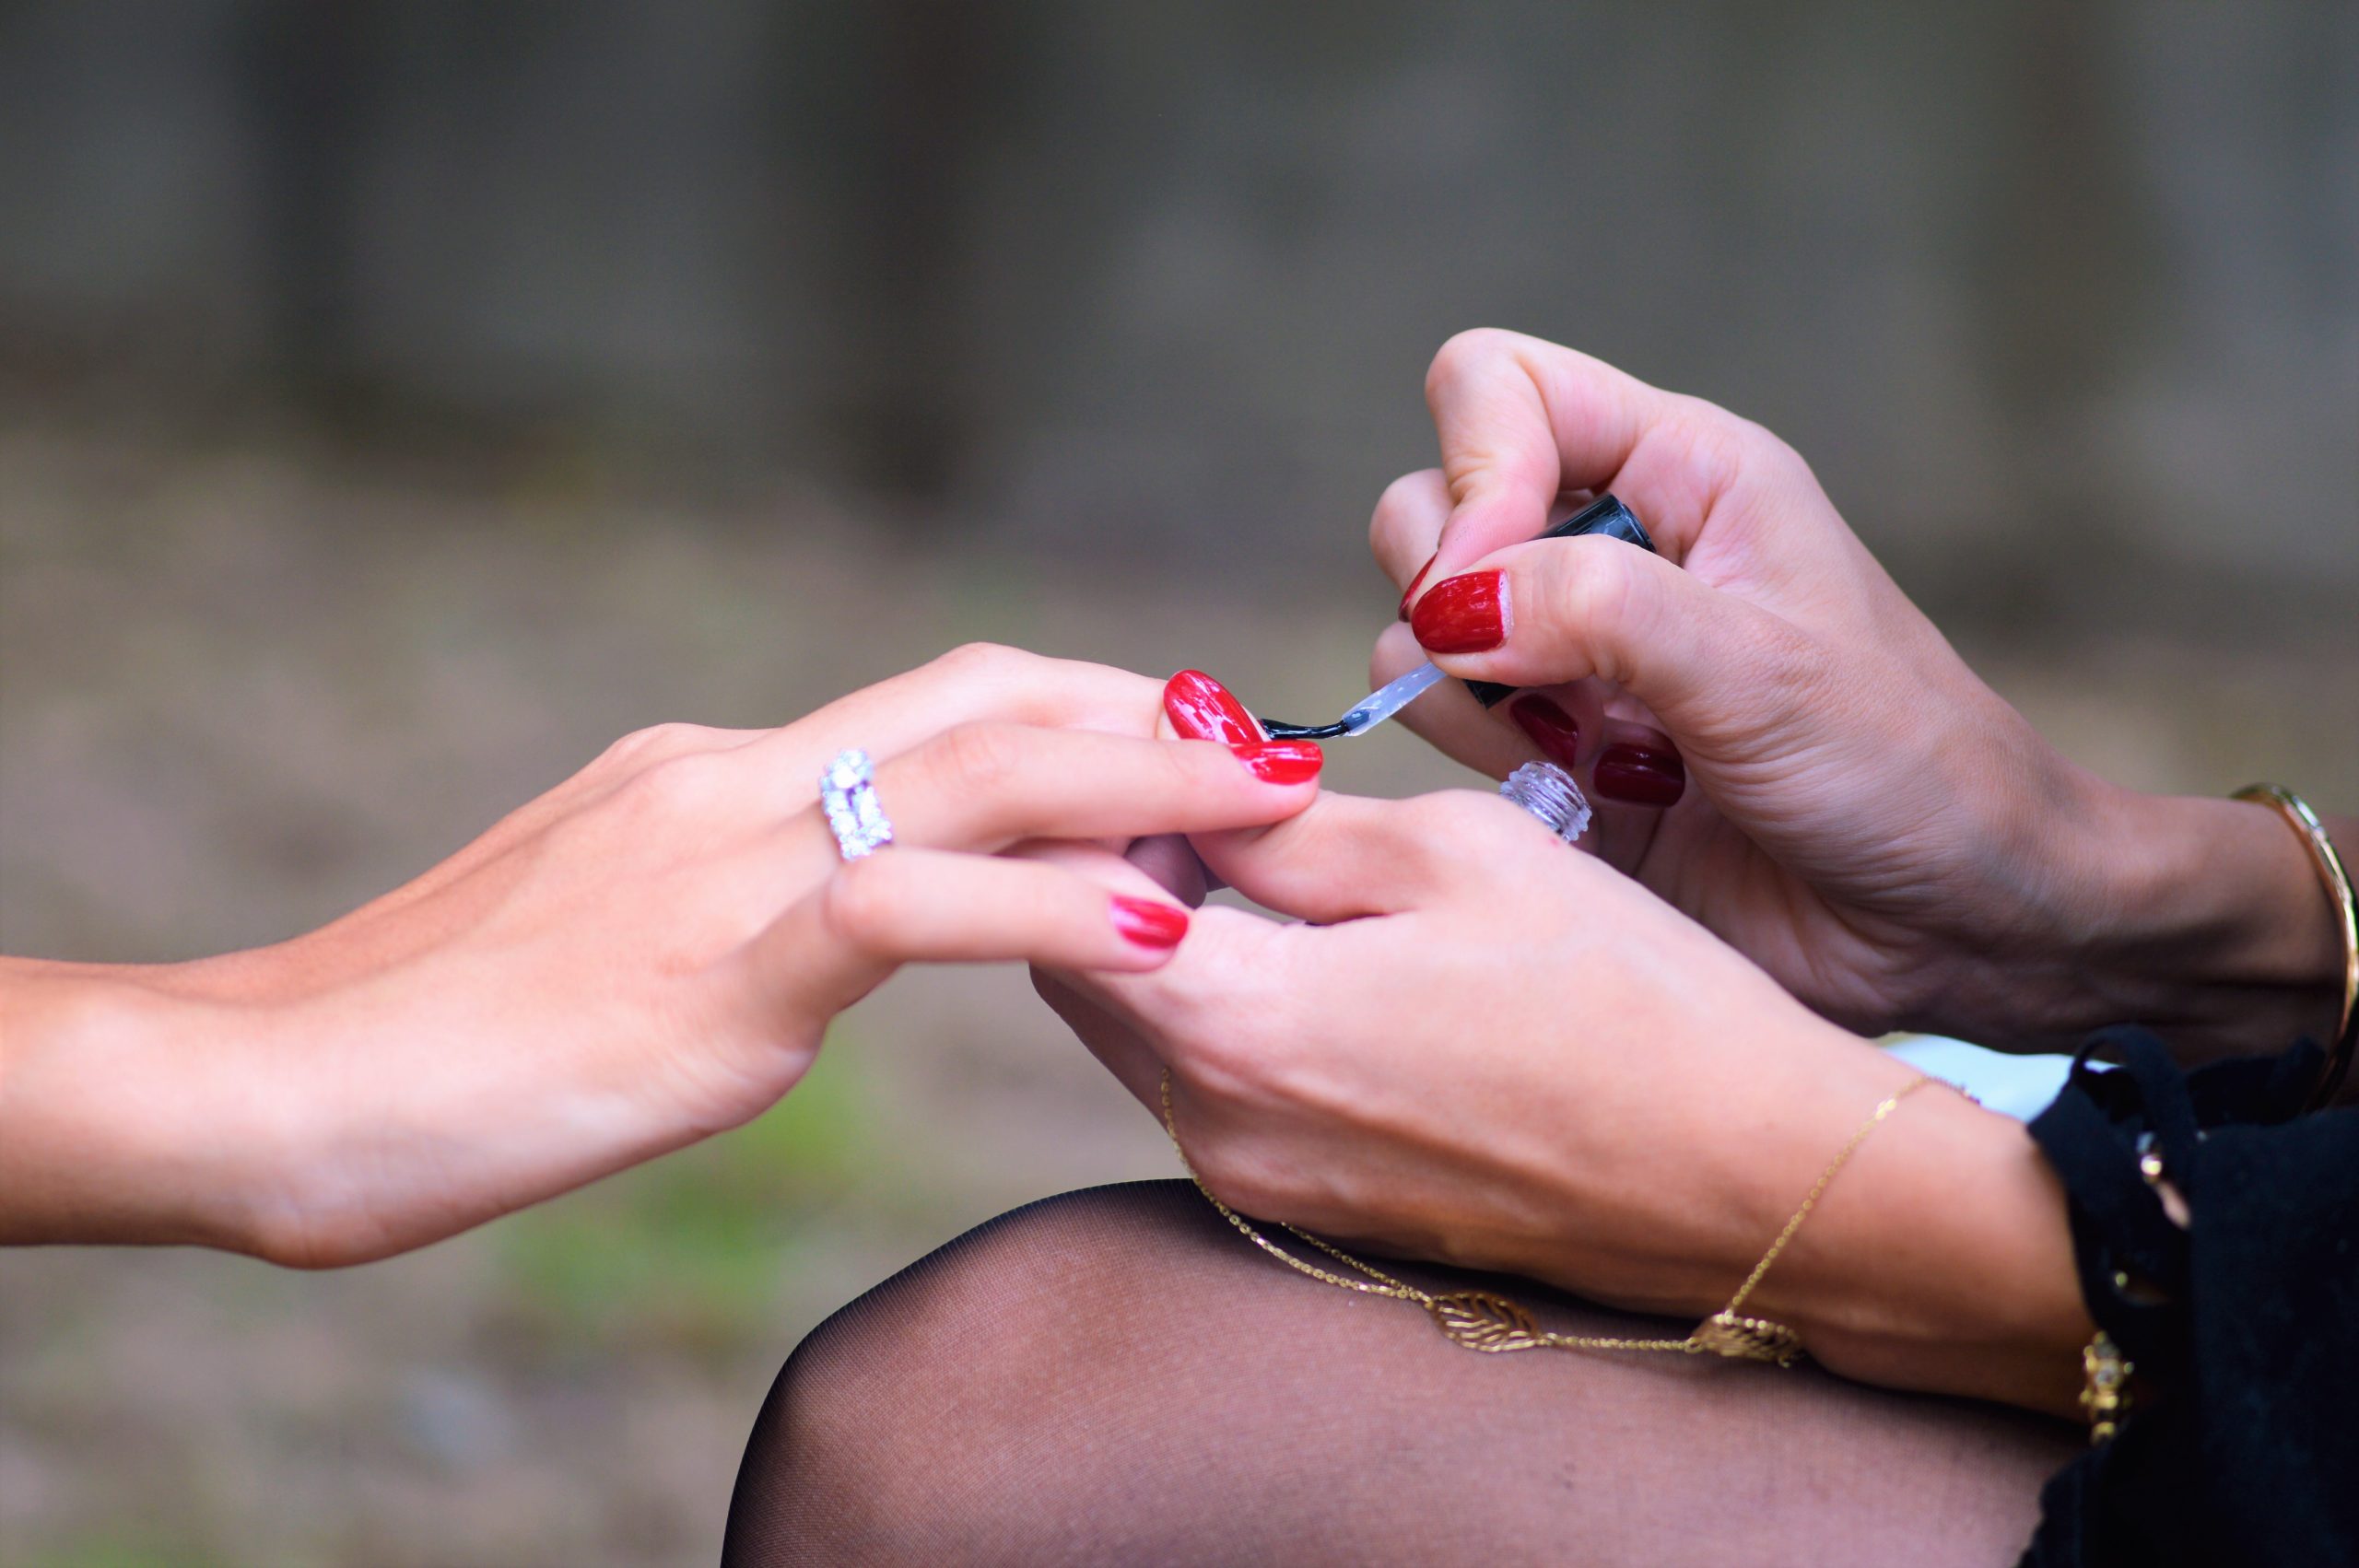
Ombre nails are one of the most coveted and intimidating to create DIY manicures. Nevertheless, if the whole plan goes well, you will have marvelous colors fading into each other, creating a sunset or ocean on each of your fingers.
In fact, doing ombre nails at home is not the easiest manicure to do. Therefore, to help you with this, we have prepared a mini DIY ombre nail guide to equip you with all the best expert tips and tricks. If you follow them, you can be sure that your ombre manicure will look like you got it from a professional nail technician.
What do you need to do ombre nails at home?
Before you proceed to the ombre manicure itself, you need to prepare all the equipment in order to avoid touching anything unnecessarily during the process.
Therefore, you should prepare:
- Base coat that helps nail polish go on smoothly and makes the shade of nail polish pop. Moreover, it will protect the base of your natural nails from flaking or discoloration, which are often caused by wearing nail polish. It is also highly recommended to choose a base coat that is infused with antioxidants that will work as a shield against pollutants from environmental factors;
- Nail polish shades are not the easiest to choose. It is worthwhile, then, to get some inspiration about ombre nail designs before you get to work. Obviously, you can blend whichever colors you want, but if you feel insecure or indecisive, you can find plenty of beautiful nail design ideas on the Internet;
- Top coat that provides your manicure with texture and a glossy or matte finish. What is more, it will protect your ombre manicure from premature nicks and chips;
- Sponge makeup wedges that allow you to easily achieve the ombre effect on your nails;
- Tape that can be used to clean off debris from your makeup sponge;
- Nail polish remover that helps you clean up any spills or color outside the nail lines. It will be especially handy if you are not very experienced with ombre manicures.
How To Do Ombre Nails At Home?
Once you have all the products prepared, you can get to work. To make things easier, let’s break the ombre manicure process into a few steps.

Step 1: Apply the base coat
Before putting on any color your nails, start with applying a base coat. It is advisable to apply two coats of a base coat of your choice and let them dry before proceeding to the next step.
Step 2: Clean your sponge makeup wedges
Once you have the base coat applied, you can take a small piece of tape and dab it gently over your sponge. It will ensure that your sponge is clean and that it won’t lose any pieces when you are doing your ombre manicure.
Step 3: Apply color to the sponge
Having checked the cleanliness of your sponge, you can apply each color to the sponge in rows. You should do this in such a way that colors overlap and there is no space between them. If the shades won’t overlap, you won’t end up with the smooth ombre effect you are after.
Step 4: Start the ombre manicure
It’s high time to start applying colors to your nails. To do this, dab the sponge into your nails. Let every layer completely dry, and then dab again. To achieve a nice ombre effect, you will need 2-4 layers on each nail.
Step 5: Do a little cleaning
Once you have applied a few layers of ombre nail design, you can start to clean the sides of your nails with a cotton pad soaked in nail polish remover.
Step 6: Apply the top coat
Finally, apply a top coat that will smooth your ombre nails and provide a finish to your manicure.
All in all, ombre nails at home may seem intimidating, but once you follow the above tips and steps, you can achieve the perfect ombre effect just like at a nail salon.
Hey welcome to my blog . I am a modern women who love to share any tips on lifestyle, health, travel. Hope you join me in this journey!

Speak Your Mind