All the Masterchefs by now might have instilled a fear in you that meringues are the trickiest of the lot to make in the dessert section. Trust us when we say it, meringue is one of the easiest dishes you’ll learn in desserts and baking.
While you learn to make meringue, it opens your door to several other wonderful recipes as well that incorporate meringue into it. Macarons, Baked Alaska and the most succulent crispy and chewy meringue that we are about to teach you in today’s recipe!
What Are Meringues?
For those of you who are new to cooking and still learning the ropes – What is a Meringue?
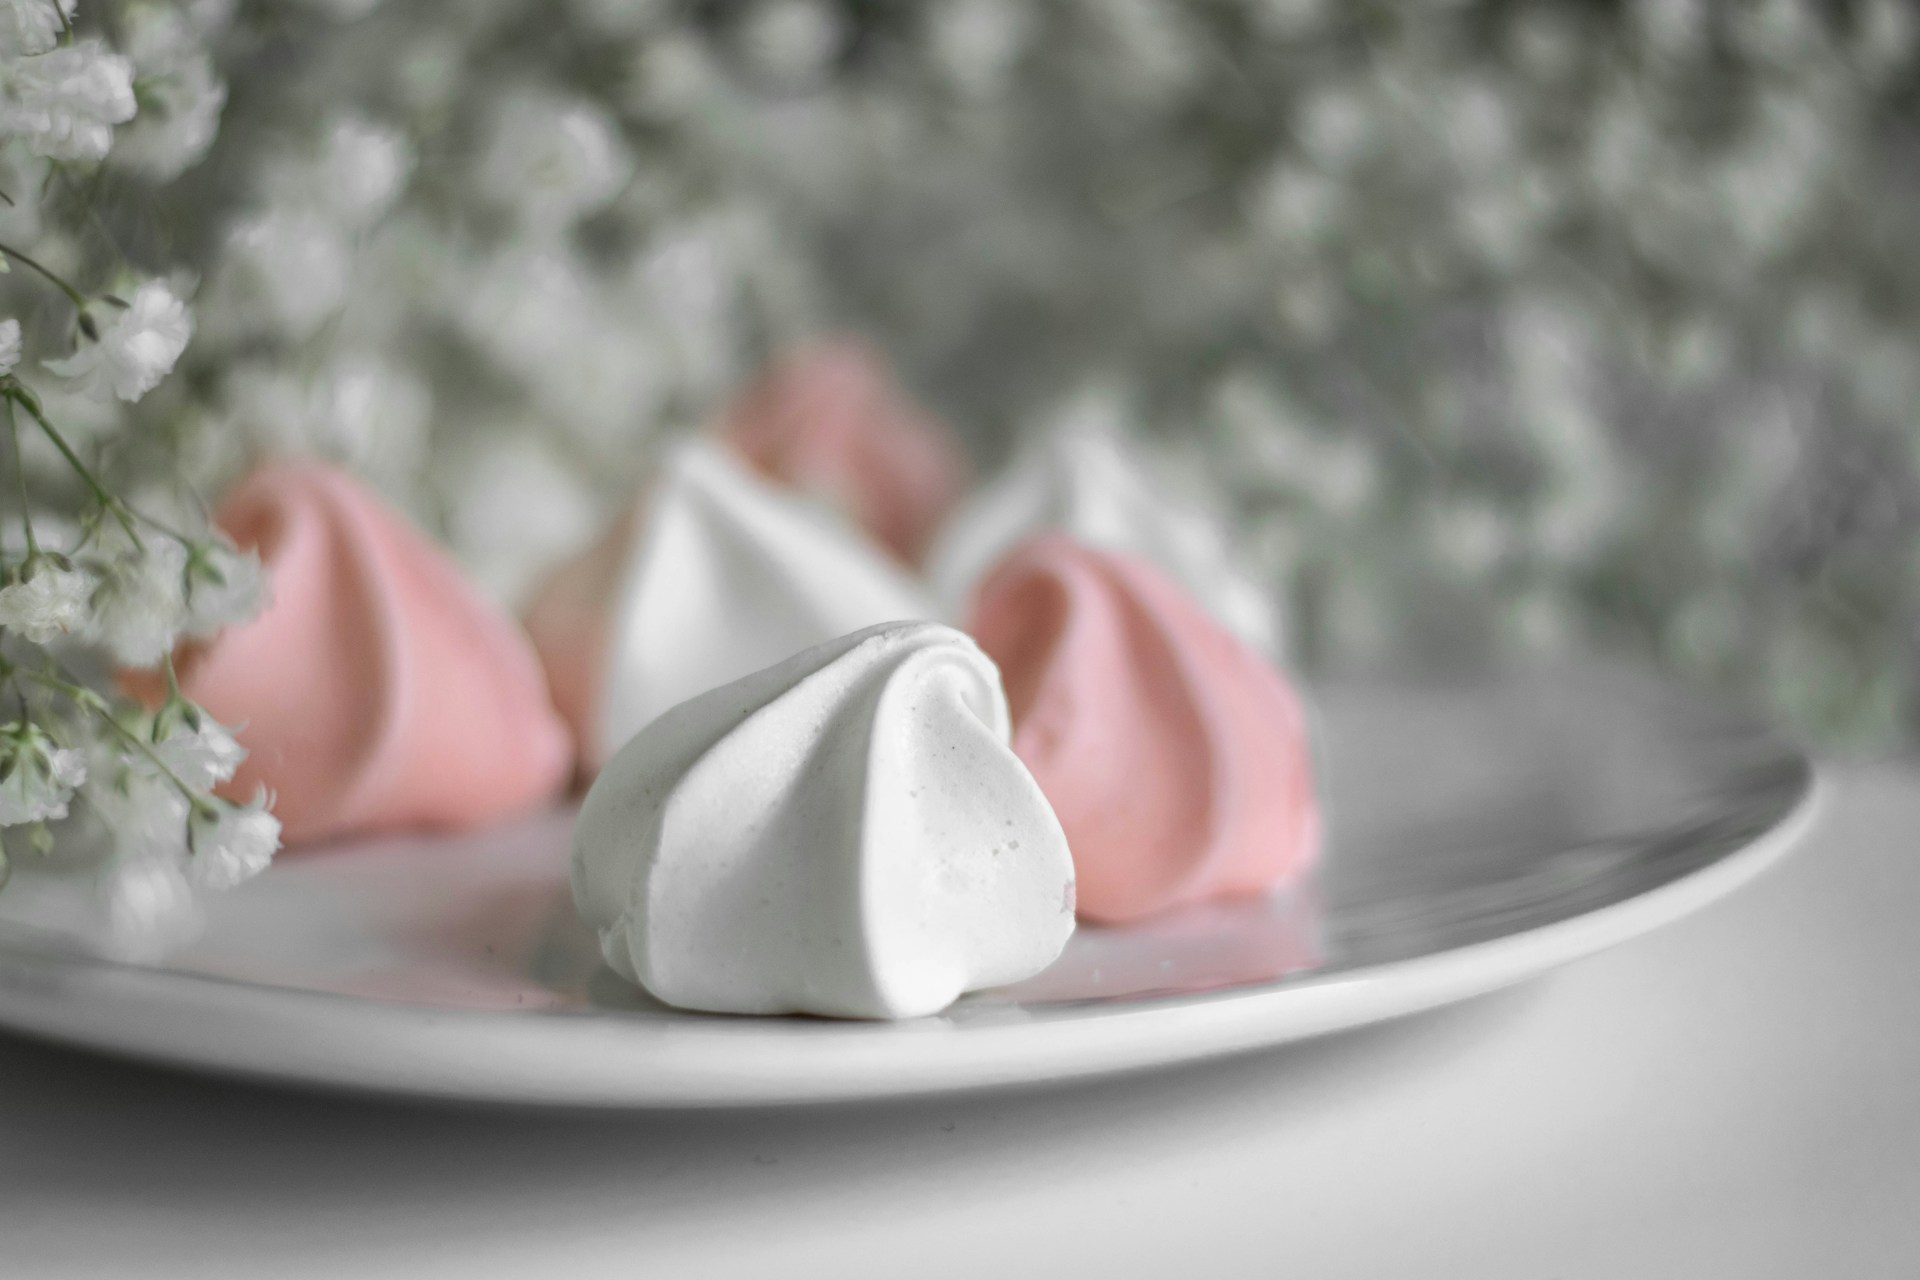
Meringues are wicked and lovely little pillows of crisp and soft goodness. All you need to make one is egg whites and sugar, and the art of cooking techniques. The texture of a good meringue also depends on where it was prepared. Classic homemade meringues have a crispy exterior and soft chewy interior when you bite into it. Store Bought meringue while easy, often is crisp all the way through.
Crispy And Chewy Meringue Recipe
Well, no recipe can begin without the list of ingredients needed to prepare it. So here are all the items you need to make the perfect meringue.
Ingredients Required:
You will need:
- Egg Whites
- Caster Sugar (superfine sugar)
- Icing Sugar (confectioners powdered sugar)
Yes, and that’s it. These three items are all you need to create the crispiest and chewiest meringues fresh out of your kitchen.
10 Tips To Make The Perfect Meringue
Before we jumped into the actual recipe, We wanted to share some tips that we have picked up from our time in the kitchen. These hacks and practices ensure that the meringue you make is some of the finest out there!
- Make sure that the mixing bowl and whisk you’re going to use are completely clean and dry. There should be no residue of any oil or grease at all. Having any oil or grease on your equipment will cause the egg whites to not whip up properly or hold their shapes.
- For better consistency, use a food mixer with whisk attachment to it. You could also use a hand beater but it does get a little tricky with it since the whisking of the ingredients is not really done in a consistent manner.
- Fresh eggs. Yes, use of fresh eggs helps with the meringue holding its shape once whisked up.
- You’d think we are being extra, but we use 3 separate bowls when making meringues. Yes, you heard it right, THREE! One to separate the egg, one bowl catches the egg white pouring out. In the second bowl, we dump the egg yolk, and a third one, just in case the yolk breaks, to pour in the egg white and yolk mixture.This ensures that the actual bowl of egg whites is completely separated and not mixed.
- When you’re whisking the eggs, you should beat it until they form stiff peaks. Stiff peaks are when you are done whisking the egg whites and you lift up the whisk to see white peaks formed that are holding their shape.
- Make sure that the eggs you use are at room temperature.
- You want to make sure that there are no un whisked parts of egg white left at the bottom of the mixing bowl.
- When adding the caster sugar, do so slowly and combine in between. You can do so with a small dessert spoon. This makes sure that the meringues do not weep when baked.
- Sift the icing sugar over the meringue in one thirds. This makes sure that the meringue will not lose its cloud-like pillow texture.
- When placing the meringue on the baking dish, use two spoons. One to pick the mixture up from the bowl, and another to scrape onto the dish.
Recipe For Chewy And Crispy Meringue
- Preheat your oven at 110 C for baking. For this recipe, you will use two trays so you need to have a multi-fan function on your oven for this.
- Line two baking trays with baking paper. Set them with either cooking spray or a bit of the meringue mixture to the corner of the baking tray to make the paper stick.
- You need a food mixer or electric hand beater for this recipe, to keep the mixing consistent. A traditional hand whisk while it can work is hard to use if you’re a beginner at this, since traditional hand whisk needs more effort and technique.
- Add room temperature egg whites to a mixing bowl. Make sure that egg whites and yolks are separate. We only need egg whites for the recipe.
- Whisk egg whites at medium speed until you see froth starting to form, then slightly increase the speed. Whisk at this speed until you see stiff peaks form.
- Make sure there are no runny egg whites remaking at the bottom, and the mixture is stiff consistently through and through.
- When the mixture is done, gently add caster sugar. Increase the speed of the mixture and add the sugar one dessert spoon at a time. Wait 5-6 seconds between each spoon addition to let the sugar dissolve completely.
- Once all the sugar is added, remove the mixing bowl from the whisk and then sift one third of the icing sugar over the meringue mixture. Use a large metal spoon to fold the mixture through and through.
- Repeat the sifting and fold method twice until the icing sugar is completely incorporated into the mixture. Make sure that no volume is lost in the mix.
- Take a dessert spoon to scoop up the meringue mixture and place it on the baking tray. Take another spoon to scrape off the mixture onto the tray and make a rough circle. Repeat this until all the meringue mixture is in rough circles on the tray.
- There should be a 2 cm gap between each of the dollops of meringue on the tray.
- Take a dessert spoon of the meringue mixture and place on the baking tray and use another dessert spoon to scrape off the mixture and form a rough circle
- Place the trays into the oven and bake for 1 hour 45 minutes at 110 C. Do not open the oven AT ALL during the baking time.
- When done, the meringue will change to an off white color and feel firm to the touch.
- Turn off the oven and leave the door ajar to let the meringues cool off. And your crispy chewy meringues are done!
You can have these delicious treats right away once they have completely cooled down. You can also store them in an airtight container for up to 3 weeks. Additionally these treats go well with berries and cream, or some lemon curd. Enjoy them however you like!

Speak Your Mind