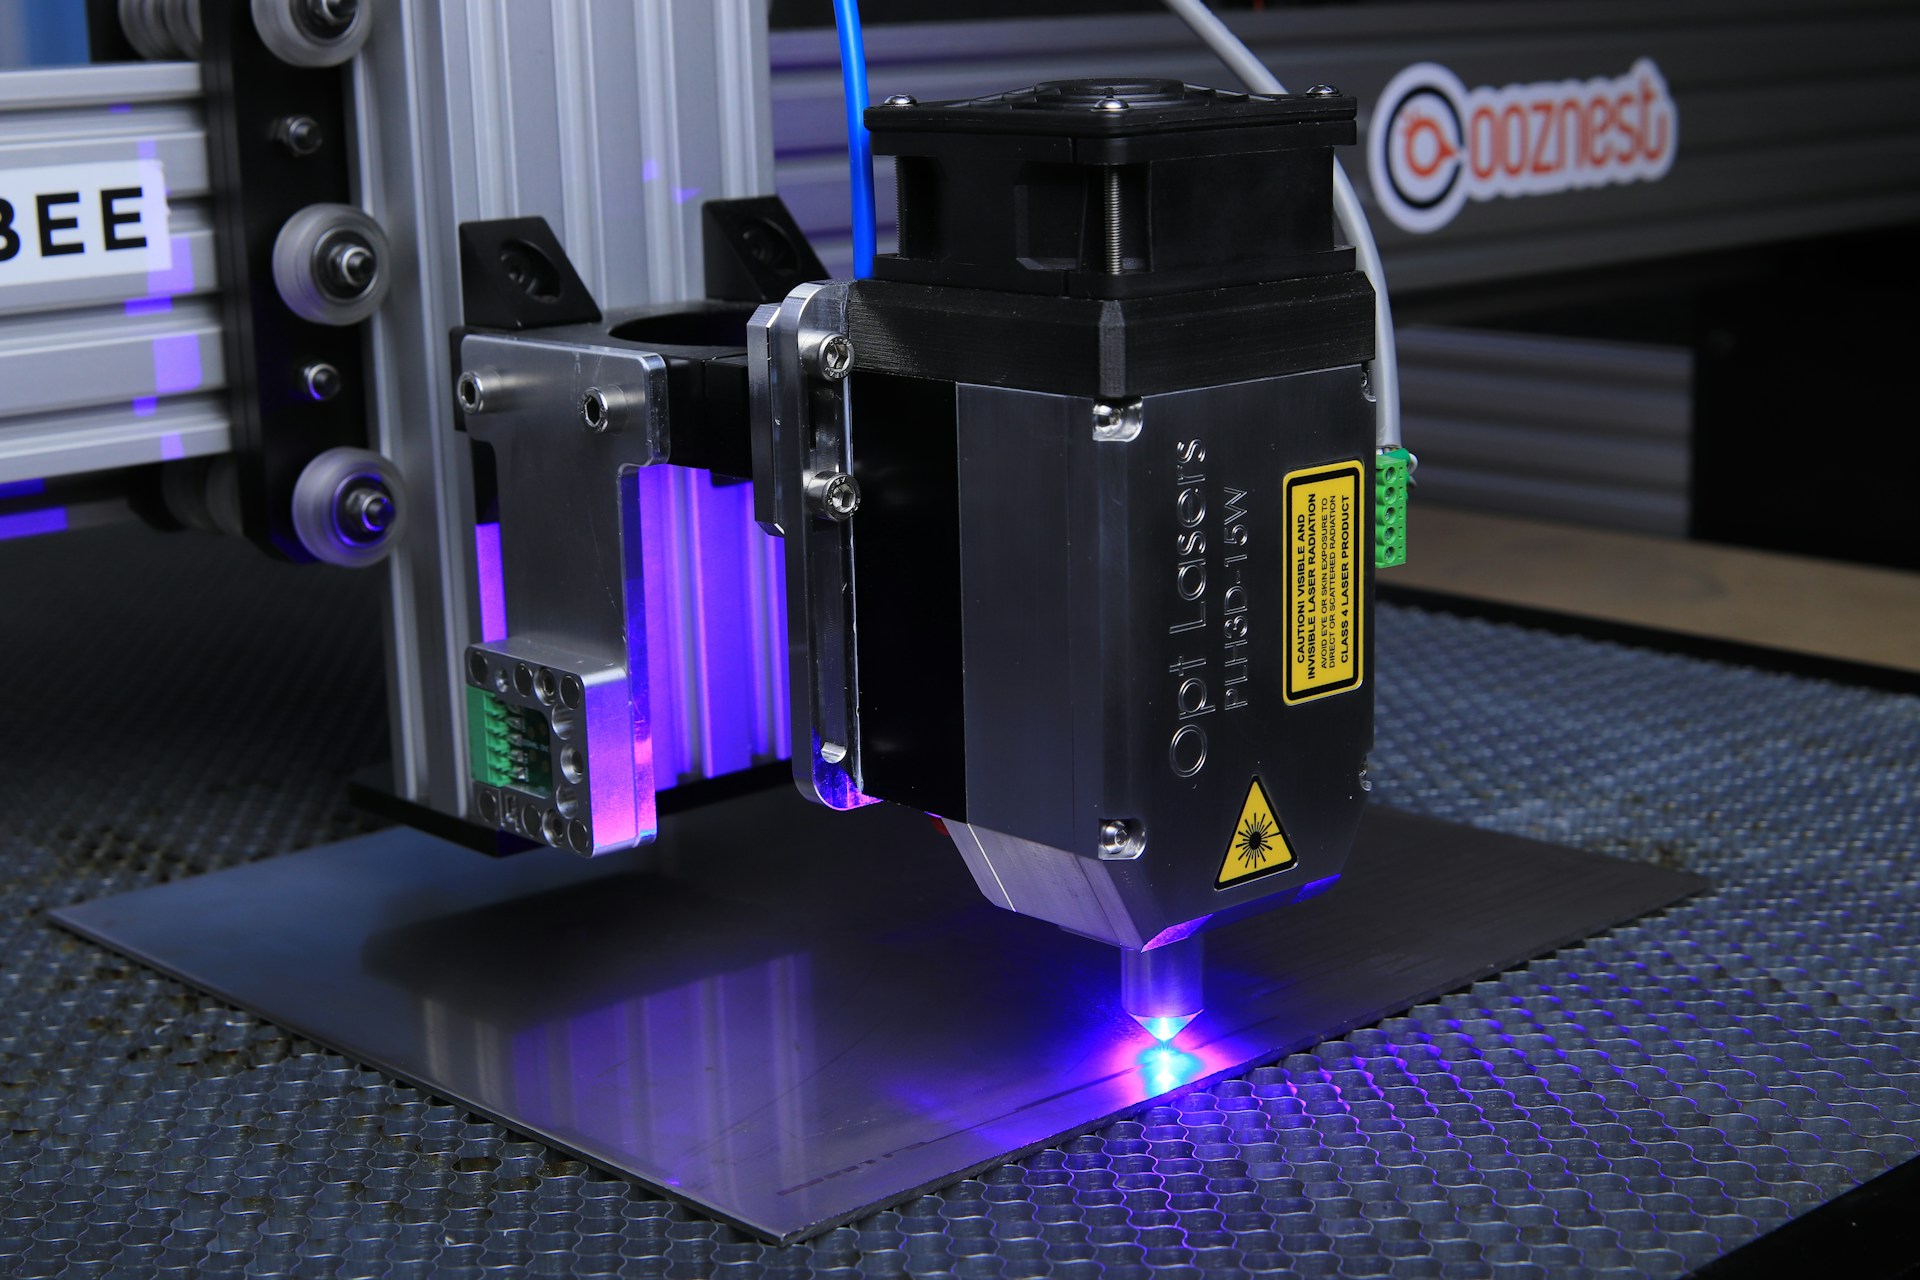
Laser cutting and wood burning are a match made in heaven for those who love precision and creativity. Whether you’re a seasoned artist or a beginner, using a laser cutter can elevate your wood-burning projects, making intricate designs and detailed patterns easy to achieve.
1. Personalized Wooden Coasters
Project Overview: Start with creating custom wooden coasters. Whether it’s a monogram, geometric pattern, or a favorite quote, laser cutting allows for clean, precise lines.
Tools and Materials:
- Laser cutter
- Wooden coasters (blanks)
- Design software (e.g., Adobe Illustrator, CorelDRAW)
Step-by-Step Guide:
- Design: Use your software to create or import your design. Keep in mind the size of your coaster.
- Set Up: Load your design into the laser cutter software and adjust the settings according to your material’s thickness.
- Engraving: Place the coaster in the laser cutter and start the engraving process.
- Finishing: Once done, clean the coaster and apply a protective sealant to preserve the design.
2. Customized Cutting Boards
Project Overview: Turn ordinary cutting boards into personalized kitchen staples by adding names, quotes, or even intricate designs.
Tools and Materials:
- Cutting board (wooden)
- Laser cutter
- Food-safe wood finish
Step-by-Step Guide:
- Design: Plan your design to fit the surface area of the cutting board.
- Engraving: Follow the same steps as with coasters to engrave your design.
- Finishing: Sand the board lightly and apply a food-safe finish to protect the wood.
3. Decorative Wooden Spoons
Project Overview: Elevate your kitchen utensils by wood-burning designs onto wooden spoons. These make great personalized gifts or unique kitchen decor.
Tools and Materials:
- Wooden spoons
- Laser cutter
- Design software
Step-by-Step Guide:
- Prepare the Spoons: Choose wooden spoons with flat surfaces for the best results.
- Design and Engraving: Create your design, transfer it to the laser cutter, and engrave.
- Final Touches: Clean the spoon and optionally finish with food-safe mineral oil.
4. Rustic Wood-Burned Signs
Project Overview: Create rustic signs with quotes, family names, or any message that suits your style.
Tools and Materials:
- Wooden planks or boards
- Laser cutter
- Hanging hardware
Step-by-Step Guide:
- Design: Draft your text or design using software. Choose fonts and graphics that match the rustic theme.
- Engraving: Position your board in the laser cutter and start engraving.
- Assembly: Attach hanging hardware if needed, and apply a finish for protection.
5. Wood-Burned Jewelry
Project Overview: Make personalized jewelry like pendants or earrings using small wood pieces. Laser cutters allow for intricate and delicate designs perfect for jewelry.
Tools and Materials:
- Small wood blanks
- Laser cutter
- Jewelry findings (e.g., chains, earring hooks)
Step-by-Step Guide:
- Design: Create or choose detailed designs suitable for small-scale engraving.
- Cutting and Engraving: Use the laser cutter to both cut the shape and engrave the design.
- Assembly: Attach the jewelry findings to complete your piece.
Conclusion
Starting wood burning with a laser cutter opens up a world of precision and creativity. These five projects are perfect for beginners looking to explore this art form. Whether you’re making something functional like coasters and cutting boards or crafting decorative pieces like signs and jewelry, the possibilities are endless. So, fire up that laser cutter and let your creativity flow!
I’m a 20-something stay-at-home mother and wife. I have an amazing husband, a beautiful daughter, two loving dogs, and a lazy cat. I wouldn’t change my life for anything! I love to read, listen to music, cook and blog!

Speak Your Mind