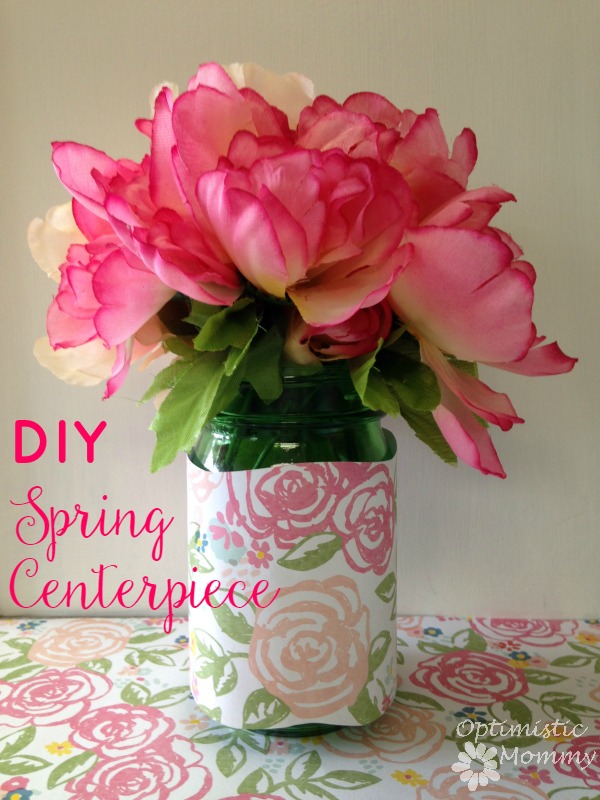
 This DIY spring centerpiece makes the perfect frugal d or piece. Making your own costs just pennies, and they are so easy to craft you make one in just minutes. The best part is, you don’t even need to be super crafty or use real flowers. In fact, just about everything you see here can be found at your local dollar store! Here is how to get started.
 Supplies Needed:
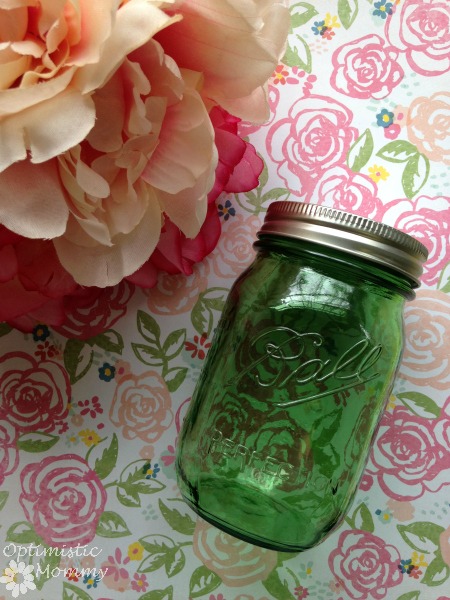
- Mason Jar
- Floral Scrapbook Paper
- Silk Peonies
- Scissors
- Craft Glue
We found everything we used here except the scrapbook paper at our local dollar store. As you can see, this truly is a frugal craft!Directions:
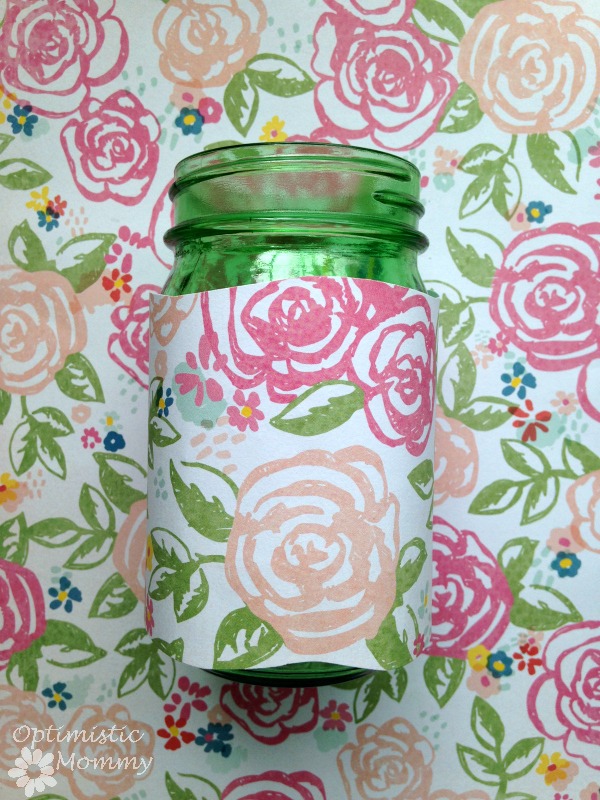
- Begin by cutting a strip of paper to fit around the jar. You can scallop the edges of the paper if you wish for more variety. Then, just wrap, glue, and trim off extra.
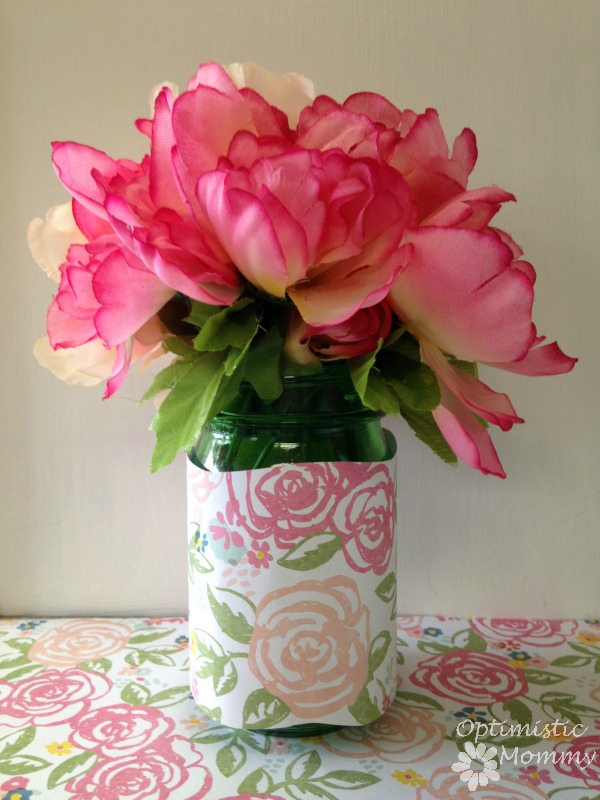
- Once the paper is secure, you can add your flowers. We used two bouquets of silk peonies from Dollar Tree. They are nice and full and quite lifelike. Simply cut the stems down to fit. Then, twist the stems the two bouquets in and out of each other. Place the stems in the jar.
- Optional: Add a ribbon embellishment if you wish or a chalkboard label if you want to put table numbers or names on the centerpieces.
 See how simple yet elegant this spring centerpiece can be? Give these tips a try and craft your own in just minutes. It is sure to make your table look fresh and ready for spring.
I’m a 20-something stay-at-home mother and wife. I have an amazing husband, a beautiful daughter, two loving dogs, and a lazy cat. I wouldn’t change my life for anything! I love to read, listen to music, cook and blog!

Simple and low cost. I like doing crafts like this with my daughter.