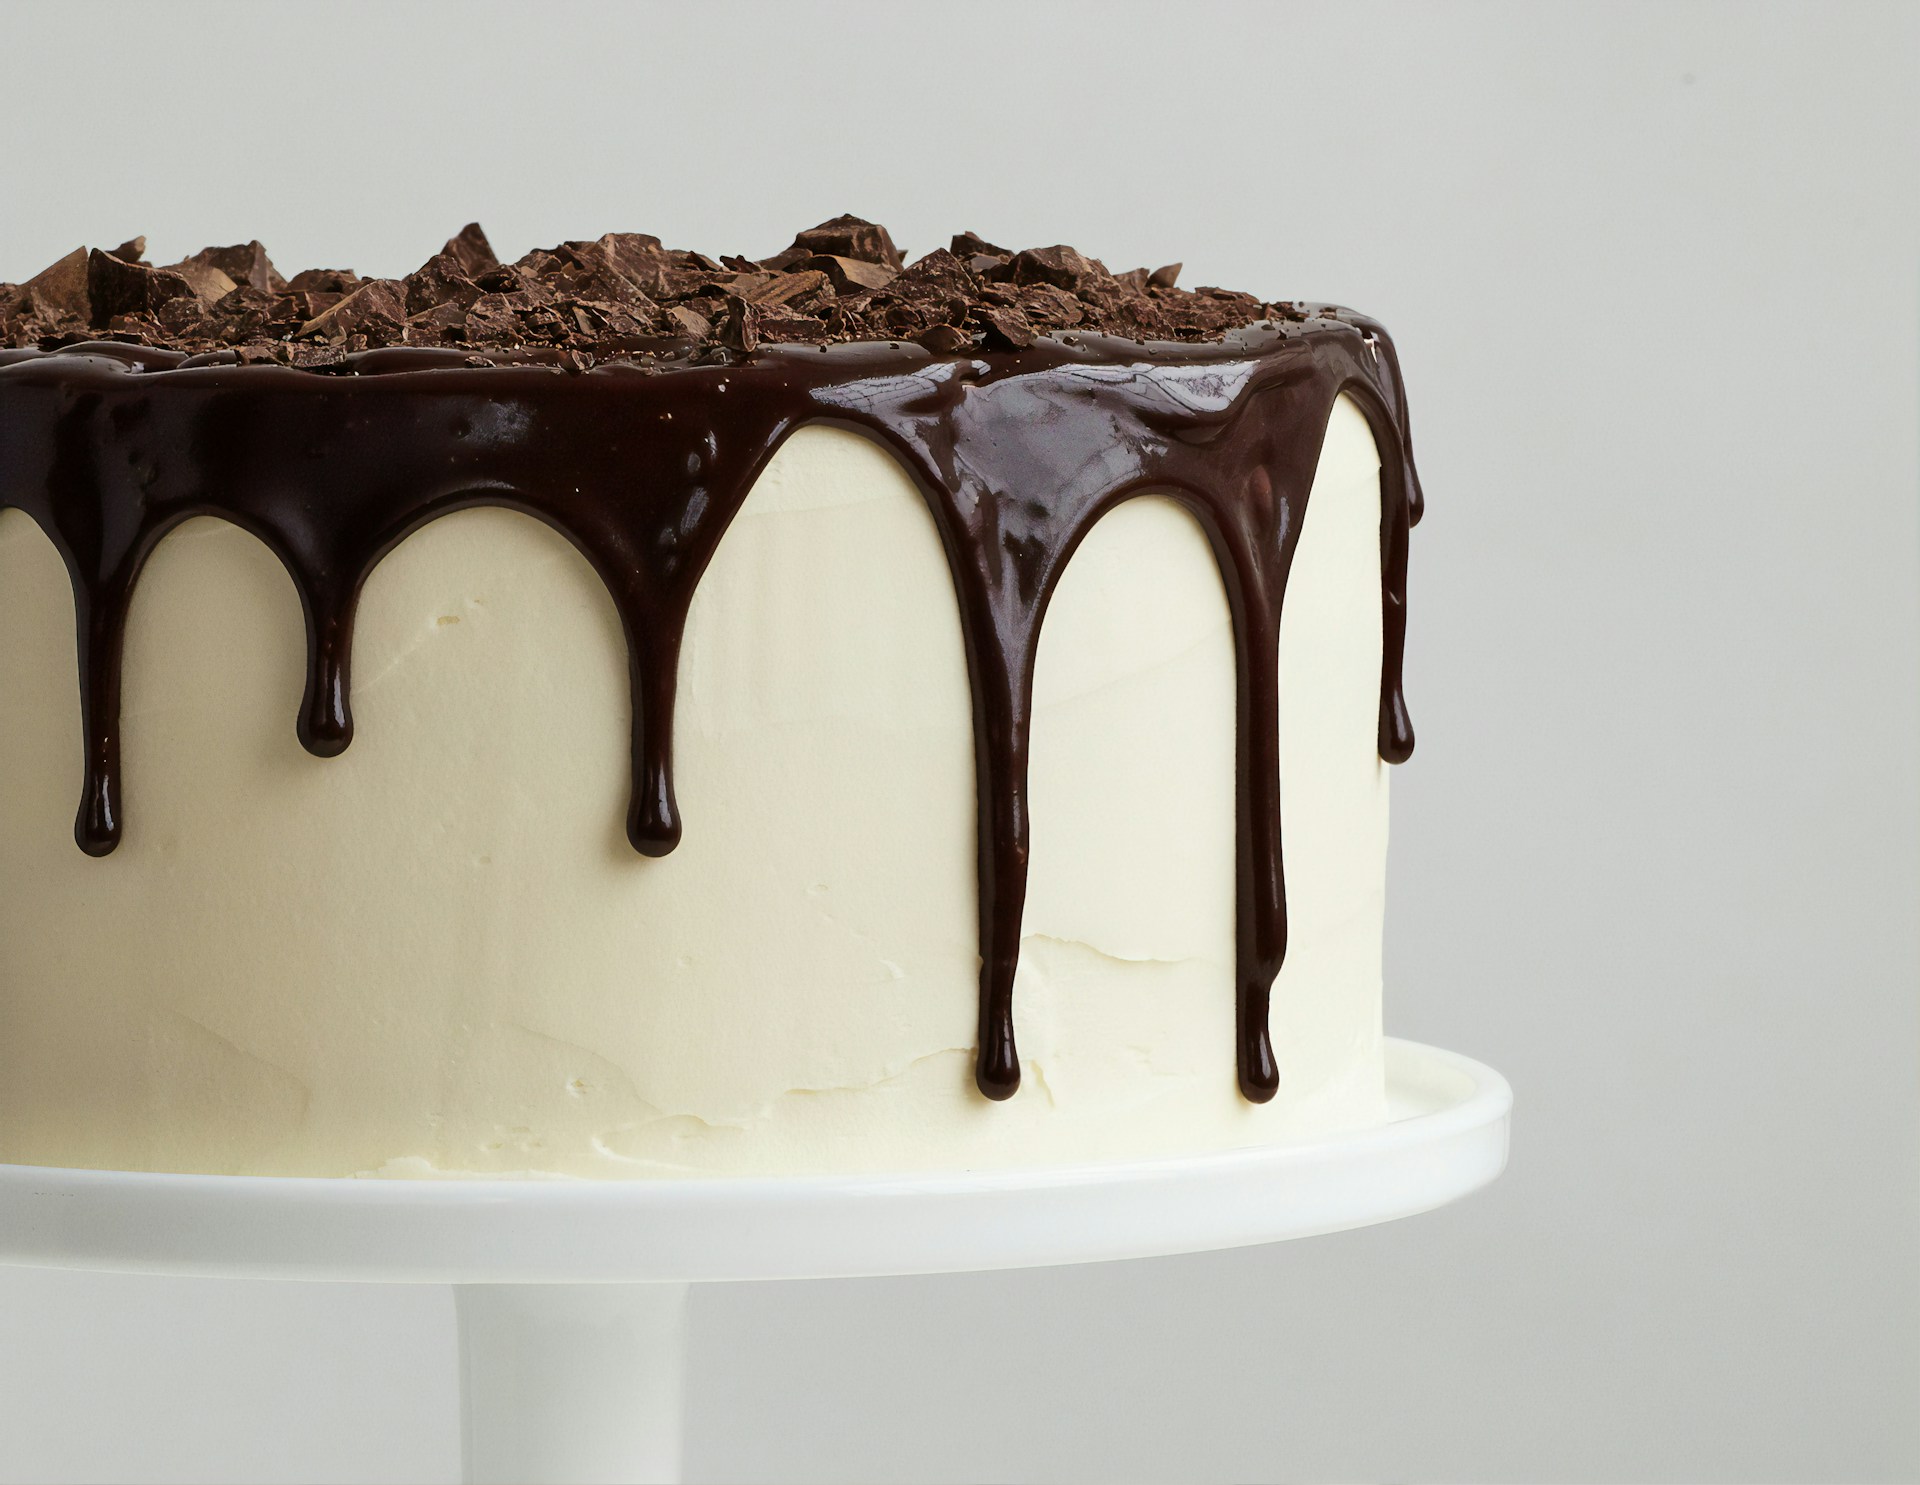
The Baking Trials: What’s the Best Way to Prep Your Cake Pan to Prevent Sticking?

Cakes are everyone’s best friend. But there are some things which you don’t know about your best friend. In this article, I have covered all the important things you should know while baking a cake.
Types of Cakes:
Cupcakes: Usually, cupcakes take less time to get back to normal room temperature. You can wait for 10-15 minutes, and then do your icing part.
Bundt Cake: They take near about 20 to 30 minutes to cool down in a pan, and then 1 – 2 hours more on a cooling rack
Sponge Cake: They cool down in 30-40 minutes .
Chiffon Cake: This cake takes longer. A total of 3-4 hours which includes 1-2 hours on a cooling rack and 1-2 hours in the pan.
Layer Cake: They take near about 10-15 minutes to cool in the pan, then an additional 1 hour on a cooling rack.
What’s the Best-cooling Process for Cakes?
Make sure your cake is fully cooked. You can check with the help of a toothpick stick. Take a toothpick and put in the middle , if it comes out clean without cake crumbs or batter, your cake is ready to cool.
If you want to cool your cake faster, cut your warm cake into layers. Initially give some time, let’s say about 20 minutes. And then very softly use your butter or serrated knife to cut it gently.
Cover the entire cake in plastic wrap and store it in your fridge.
The Baking Trials: What’s the Best Way to Prep Your Cake Pan to Prevent Sticking?
Silicone-coated baking paper is the cake’s best friend. Firstly, line the bottom of your pan with nonstick parchment , then coat the pan’s sides with non-stick pan spray.
Grease with butter and flour.
Grease with Nonstick Baking spray
How to Level a Cake?
STEP 1: Get your supplies
Reach for your favorite bread knife before you begin sawing into the top of your cake.
STEP 2: Position the knife
Position the blade of your bread knife right where the cake’s dome begins to rise up.
STEP 3: Start sawing
Place your less dominant hand on top and using a gentle sawing motion, cut roughly one inch into the cake. Then use your hand to guide your blade as you rotate the cake about 45 degrees and repeat the sawing motion.
STEP 4: Turn and Cut
Keep turning and slicing until there is a loose flap around the entire cake. From there, remove the flap to reveal a perfectly level cake!
What is Crum Coating the Cake Means?
Crumb coating is the first layer of buttercream icing.mIt seals in the sponge, preventing it from drying out and catches all of the crumbs from the sponge and acts as a barrier so that your final icing will be perfectly clean and crumb free. You can add any extras like jam, caramel or fresh fruit between your layers.
Look at Steps to Know How You Can Crumb Coat a Cake?
- Put a small amount of buttercream onto your board or card and place the first sponge on top. This will secure the cake . Pipe a thin layer of your icing on top of the sponge and spread it to the edges.
- Repeat this process with the rest of the sponges
- Make sure to stack the layers evenly.
- You can use a palette knife to spread the butter cream.
- Make sure the cake is completely covered.
- Now you need to neaten up the cake; place your scraper so it is only just touching the edge and carefully pull it all the way around the cake to get a uniform finish.
- To finish, use your palette knife to remove any excess off the top by bringing it from the edge to the middle.
- Chill the cake in the fridge or freezer until the crumb coat has set hard.
Pro Tip: Bake your cakes using cake strips to prevvent severe doming. Also, if your cakes puff up in the center, use a cake leveler to even out the tops before frosting.
How to Froast a Cake?
- If you want to foster the cake the same day, before sure to chill for about 1-2 hours or until it is completely cooled.
- If you want to do frosting the next day, allow the cake to further cool at room temperature, and then wrap tightly in plastic wrap.
Chilling the cakes before frosting makes them MUCH easier to handle.
- Important things you need :
Cake Turntable to smoothly rotate the cake as you apply the buttercream.
Rubber Spatula which I’m sure you already have on hand. This is to scoop out the buttercream and dollop onto the cake.
Small Offset Spatula to spread out the buttercream both between the layers and against the sides of the cake.
Cake Scraper to smooth out the buttercream for an even finish.
Conclusion:
We have covered some great tips and tricks for you. Make sure to utilize it everytime you are making your cake.

Speak Your Mind