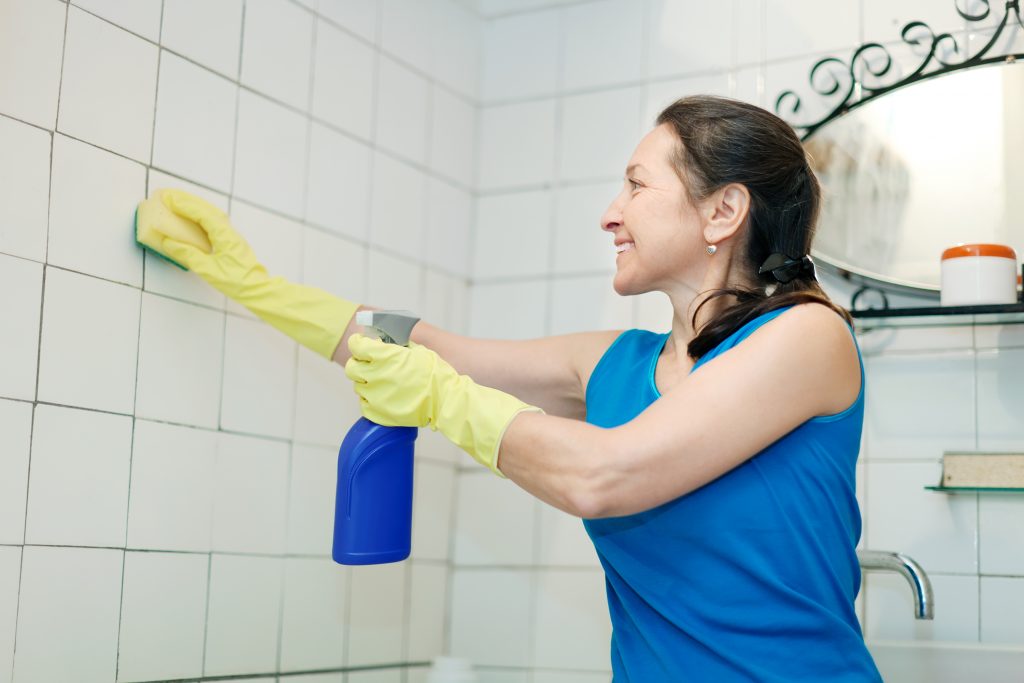
Almost all of the time, the surfaces of the floor and wall appear to suffer as a result of suds of soap, dirt, and moisture, leaving them seeking help. Even though we mop or clean the areas, a glob of filth still sticks somewhere or on something. Or if you have children or pets, then the problem gets worse. You are then left looking at loose, discolored tiles and a dark tinted tile grout, not to be missed.
Dirty grout is also not just an ugly mess, as its porous nature serves as a ground of breeding for growing fungi and other bacteria. Isn’t that just something we don’t want in our bathrooms?
So gathered below are some of the most suitable and successful ways to clean your shower tiles using the best cleaning products to clean the grout.

Pre-Scrub to Remove Soap Scum, Grime and Dirt from Shower Tiles and Doors.
The intermediate step will be either to pre-treat the soap scum or to clean the shower tiles before the actual scrubbing process. With the temperature notched all the up, run your shower for a full 5-10 minutes. The steam from the hot water will open the pores and remove the particles from the dirt, making cleaning easier.
You may now create your DIY shower cleaner or opt for a store-bought cleaner. Although there are a plethora of online alternatives on how to make your shower cleaner, not everything achieves the success claimed, or are inexpensive. A solution of vinegar-water is well suited for the pre-cleaning of dirt and grime.
Spray & Soak to Clean Mildew and Mold on Tile Grout
You are going to pre-treat all the tile surfaces of the shower with your chosen cleaners, either DIY or store-bought, particularly the areas with massive build-up. Leave the formula to soak up for at least 5 minutes, so it absorbs the mildew, mold, and scum lurking on the shower tiles and grout. In the cases where you’re using DIY cleaners such as water and vinegar, have a ratio mixture of 1:1 water and vinegar filled into a spray bottle. The solution should be sprayed over the floor or wall tiles and lefts also for 5 minutes to soak up.
Firstly use the solution on the wall tiles then followed by the floor tiles. Most of the focus should go on the dirtier, more compacted areas and grout lines, spraying a little bit more liquid on those areas mainly. The solution should be left to sit there for approximately 5-10minutes so the vinegar can perform its magic. The mixture will stick to surfaces and loosen up the dirt and grime. However, you might also need to let the mixture sit for longer, more than 30 minutes or so in the event of a filthy and tenacious spot.
Scrub, Scrub!
- Take a rigid scrub brush, and circularly clean the tiles. While using maximum brush strength to get rid of the grime and stains, ensuring your surface does not scratch. For this, a not-sharp but stiff-bristled brush may be extremely useful.
- Tough stains can be a nuisance, but the trick is to let the soap sit for a while, accompanied by brushing regularly. Use a toothbrush on the crevices.
- Still facing a stubborn stain, you should make use of a bit of bleach. Sprinkle your brush with bleach and scrub it onto the grime-stained filled area; wash off with plenty of water; however, when using bleach, make sure that you wear a cloth over your nose and that there is ventilation in the bathroom.
- Bleach is profoundly acidic and straightforward and has a pH of 12. It can cause harsh fumes and irritations to the skin. To restrict your use of bleach to when you need it most. The regular household cleaners should suffice for quick cleaning.
- Consider using a power scrubber which only requires you a little effort to clean the tiles.
Rinse-Off Cleaning Products and Excess Soap
- When you’ve completed the scrubbing, the next step is to rinse the tile surfaces. As previously mentioned, warm water needs to be splashed onto the surface tiles of tiles scrubbed, washing away all dirt and soap that sticks to it.
- With a mop wipe the entire floor thoroughly provided, you’ve added or used some detergent or floor cleaner. After mopping, clean the soap suds and remnants twice or thrice with enough water.
Dry Off Your Floors
So you just cleaned the water spots off, so why would you want to encourage more stains to form? Drying out the tiles and doors is an essential step in cleaning your showers and should be something that you frequently do to limit the growth of soap scum, mildew, and mold.
I’m a 20-something stay-at-home mother and wife. I have an amazing husband, a beautiful daughter, two loving dogs, and a lazy cat. I wouldn’t change my life for anything! I love to read, listen to music, cook and blog!

Speak Your Mind