
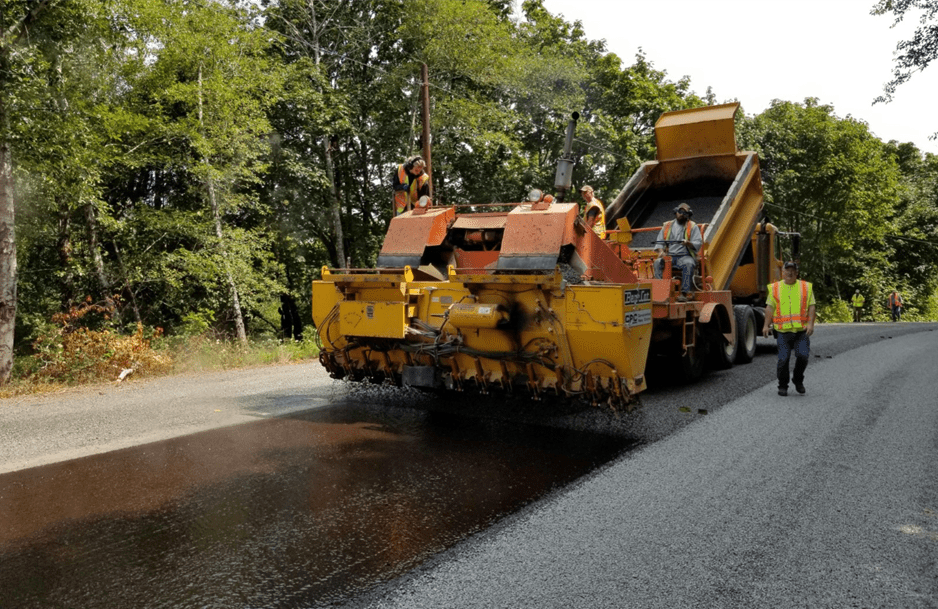
Considering a redesign of your property with new asphalt paving in Sparks?
You’re doing the right thing. But there is one step you can’t skip—preparation. A smooth, durable surface isn’t created overnight; it begins with the right preparation of your property.
From the removal of debris to drainage verification and proper grading, every detail counts. This article guides you step by step through the process of preparing for a seamless asphalt installation.
Whether you’re paving a driveway, parking lot, or private road, you need to learn how to do it right and avoid errors.
Ready to start?
Here’s how to prep your property like an expert.
1. Hire a Reputable Paving Contractor
Asphalt paving, naturally, requires the best contractor to ensure that your driveway or parking lot will last for years to come. It’s easier than you might think to find a top-quality paving service in Sparks.
With a simple search for “asphalt paving Sparks,” you can find licensed, insured contractors with success under their belts.
Local expertise matters because contractors who understand Sparks’ weather and ground conditions will have access to the best materials and techniques to ensure your asphalt can survive Nevada’s weather patterns.
Before making a decision, request references or look up online reviews to find out what previous customers have to say about the workmanship and professionalism. Don’t be afraid to ask for examples of past projects, particularly those similar to yours.
A quality contractor should be transparent about the entire process — from preparation to completion with paving — and clearly explain timelines and costs. Additionally, a reputable contractor will handle the necessary permit applications and ensure that your paving project complies with local regulations.
They’ll also manage site prep, grading, and asphalt installation efficiently, minimizing disruptions to your property. By choosing the right paving professional, you’re investing in a long-lasting, smooth, and safe surface that enhances your property’s value and curb appeal.
2. Clear the Area
Before any paving with asphalt is done, you must remove all the debris from the area where you intend to pave. These are all rocks, twigs, trash, and loose materials that may affect the paving process.
If there are pre-existing structures, such as old concrete, patches of asphalt, fences, or flower beds, in the paving area, ensure they are cleared or suitably prepared for the new surface.
You’ll also need to move any vehicles, equipment, or outdoor furniture away from the worksite to give the paving crew full access. Vegetation like grass, weeds, and roots should be cleared because they can cause uneven surfaces or future cracking if left underneath the asphalt.
Taking the time to clean the site thoroughly ensures that the surface is level and stable, allowing a solid base for the layer of asphalt. It also enables the paving crew to work more efficiently and reduces the likelihood of expensive future repairs or delays.
3. Evaluate Drainage
One of the most crucial steps to take before paving is ensuring that you have proper drainage on your land. Standing water or poor runoff can severely compromise your new asphalt over time, leading to erosion, potholes, and cracks.
To avoid doing this, you must consider how water drains across your land and make changes where necessary. Begin by taking note of the natural inclination of your land.
Ideally, the surface should be graded to allow water to flow away from your house, garage, or any buildings. If you find low areas where water tends to gather, you’ll need to fill and grade these spots.
Occasionally, the installation of drainage systems, such as French drains, catch basins, or swales, is necessary to manage runoff effectively. When you hire your paving contractor, discuss drainage issues with them.
A professional will assist you in planning the optimal grading and can recommend other drainage elements tailored to your site’s specific requirements. Addressing drainage prior to paving ensures your investment and prolongs the life of your asphalt surface.
It takes time upfront to prepare for water management that can eliminate expensive repairs and headaches in the future. A drained pavement will look nicer and function much better throughout the seasons.
4. Soil Testing and Stabilization
It’s crucial to understand the condition of the soil beneath your property because it directly impacts the strength and longevity of your asphalt. You should arrange for soil testing to determine its composition, drainage capabilities, and load-bearing capacity.
This will help identify any weak or unstable areas that might cause problems later on. If the soil is too soft, sandy, or clay-heavy, it may not support the weight of asphalt and vehicles effectively.
In such cases, you’ll need to stabilize the ground before paving. This can involve compacting the soil to remove air pockets and increase density or adding a sturdy sub-base layer, such as crushed gravel or limestone, to provide a firm foundation.
Proper soil stabilization helps prevent future cracking, sinking, and potholes in your asphalt surface. It also improves drainage, reducing water damage risks. When working with your paving contractor, ensure they assess the soil condition and recommend the best stabilization methods tailored to your property.
Taking the time to test and stabilize the soil ensures you’re building on a solid base, which is essential for a smooth, durable, and long-lasting asphalt pavement. This step can save you from costly repairs and future headaches.
5. Mark Utilities and Permits
Before any asphalt paving work begins, it’s very important that you locate and mark all underground utilities on your property. This means you need to contact your local utility companies to identify the locations of gas lines, water pipes, electrical cables, and sewer systems.
By doing this, you avoid accidentally damaging critical infrastructure during excavation or grading, which could lead to dangerous situations, costly repairs, or project delays. In addition to marking utilities, you also need to ensure that all necessary permits are obtained before starting your paving project.
Different cities and counties, including Sparks, may have specific rules and regulations governing paving work. Applying for permits ensures your project complies with local codes, zoning laws, and environmental standards.
This helps you avoid fines or having to redo work if it’s found to be non-compliant later on. Your paving contractor can often assist with these steps, but it’s wise to stay involved and confirm that all proper permits and markings are in place before work starts.
Taking these precautions protects your property, keeps the project running smoothly, and ensures a safe and legal paving process from start to finish.
Bottomline
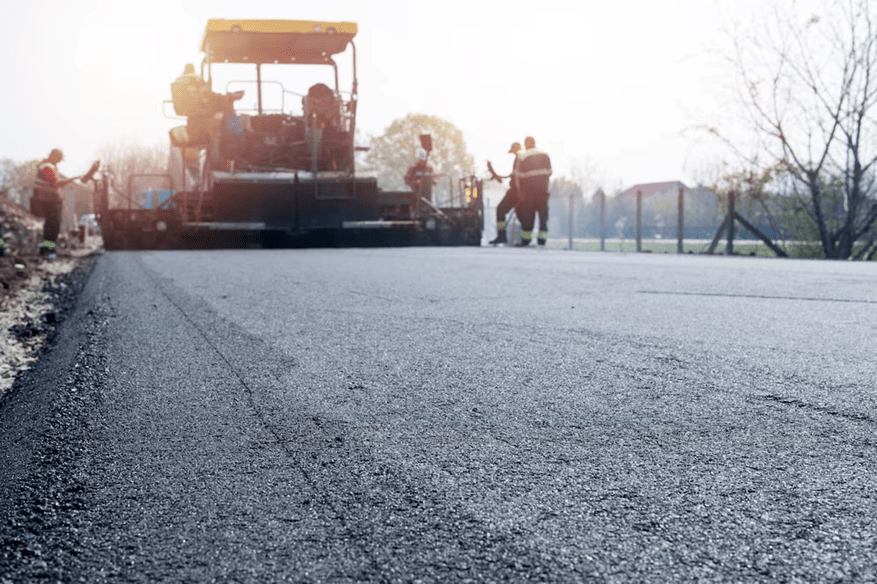
Preparing your property properly before asphalt paving is key to getting a smooth, durable surface that lasts for years.
By clearing the area, ensuring good drainage, testing and stabilizing the soil, marking utilities, and hiring the right contractor, you’re setting yourself up for success.
Taking these steps now saves you from costly repairs and headaches later. You’ll enjoy a clean, professional asphalt surface that not only boosts your property’s curb appeal but also provides safe, reliable use for your family, guests, or customers.
Smart preparation always pays off in the end.
Hey welcome to my blog . I am a modern women who love to share any tips on lifestyle, health, travel. Hope you join me in this journey!

Speak Your Mind