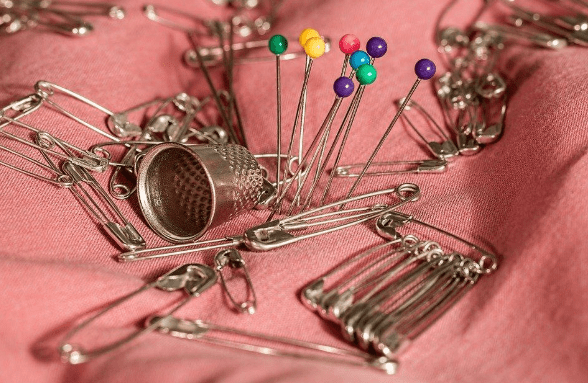
Sewing and embroidery is one very fulfilling hobby. If you are into this fruitful past time, then for sure, you are already considering an embroidery machine, if you don’t have one yet.
Here are some tips on how to make the most out of a brother embroidery machine.
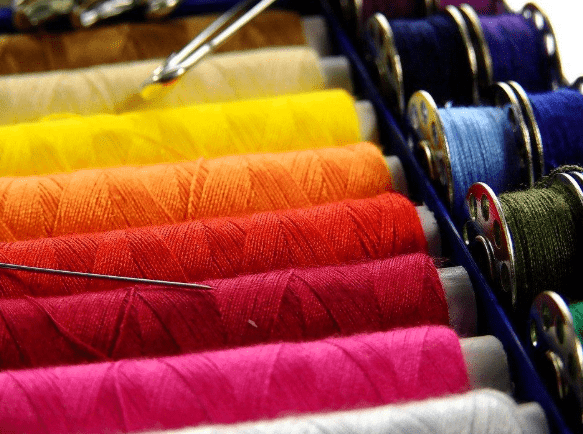
Threading
To begin crafting with a brother embroidery machine, the first thing to do is to wind the bobbin and set the lower thread. Take note, however, to only use the plastic bobbin that came with your machine, or use bobbins of the same type. After this, you can already configure the upper threading by passing the upper thread into the machine and threading the needle. Keep in mind to raise the needle using the needle position button of the machine before you begin threading.
Basic Sewing
Initially, it is best to practice sewing using a straight stitch. You can incorporate other stitching methods one at a time to ensure that the basic sewing functions of the machine are working as expected. More often than not, brother embroidery machines have a presser foot locking pin, which is usually a black button on the left side of the machine. Nevertheless, you can also perform reverse sewing through the automatic reverse or reinforcement stitching function effortlessly. In the same manner, you can also adjust the stitch length and width, wherein the adjustment screen normally varies depending on the language you chose.
Before starting any project, it is recommended visit digitizingmadeeasy.com and to sew several trial stitches using the thread color you prefer together with a piece of fabric that is similar to the one that you will use for your actual project. Perform a quick evaluation of the results of your trial stitches and adjust the thread tension as necessary. If necessary, you can also replace the presser foot of a Brother PE800 embroidery machine for the type of stitch that you wish to sew. Based on the reviews of this machine, the embroidery foot is the best presser foot most suitable for embroidery works. Nonetheless, you can refer to the operational manual that came with the machine to be able to determine the right type of presser foot for the specific stitch you wish to sew.
Embroidery
Before starting any project, it is recommended to sew several trial stitches using the thread color you prefer together with a piece of fabric that is similar to the one that you will use for your actual project. Perform a quick evaluation of the results of your trial stitches and adjust the thread tension as necessary. If necessary, you can also replace the presser foot of a Brother PE800 embroidery machine for the type of stitch that you wish to sew. Based on the reviews of this machine, the embroidery foot is the best presser foot most suitable for embroidery works. Nonetheless, you can refer to the operational manual that came with the machine to be able to determine the right type of presser foot for the specific stitch you wish to sew.
Through an embroidery machine, you will be able to produce machine embroidery designs that you initially set on the large color touch display screen of the machine. You have the option to choose from over a hundred designs or import your own design from other sources. You can make use of the design editing features of the machine, such as the rotate function, mirror-image, and resizing, to customize your project. You have the ability to view your edited design through the LCD display, before you begin stitching.
In conclusion, sewing and embroidery is a hobby that is not for everybody. The intricate details needed to produce an embroidered work of art needs precision, which sometimes only a machine can deliver. These are the instances wherein you need to rely on the best embroidery machine to transform the design you have in mind into actual cloth pieces that you can fancy.
I’m a 20-something stay-at-home mother and wife. I have an amazing husband, a beautiful daughter, two loving dogs, and a lazy cat. I wouldn’t change my life for anything! I love to read, listen to music, cook and blog!

Speak Your Mind