
If you want a fun way to add a little shine to your child’s outfit, you need to give this easy spring headband craft a try. You can make your own spring headband using supplies found at your local Dollar Tree, and the end result is so sweet yet so simple! If you have a little girl who would love a new headband like this, take a look at how you can craft your own.
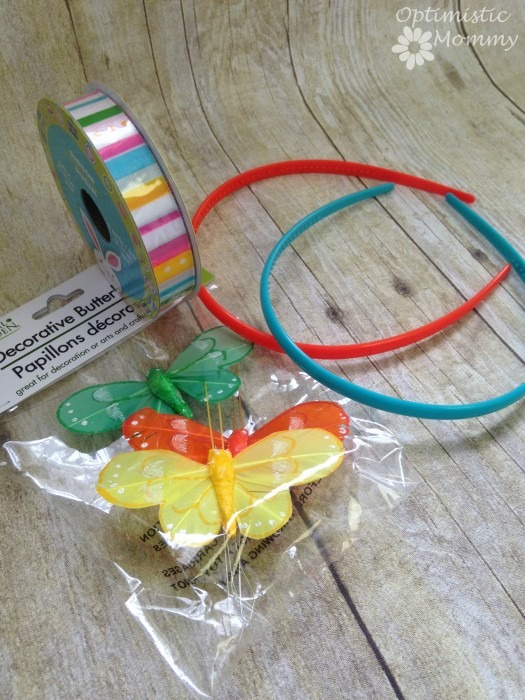 Supplies Needed:
- Plastic Headbands (2 for $1)
- Silk Butterflies (3 for $1)
- Spring Ribbon
- Hot Glue Gun, Glue
- Scissors
Directions:
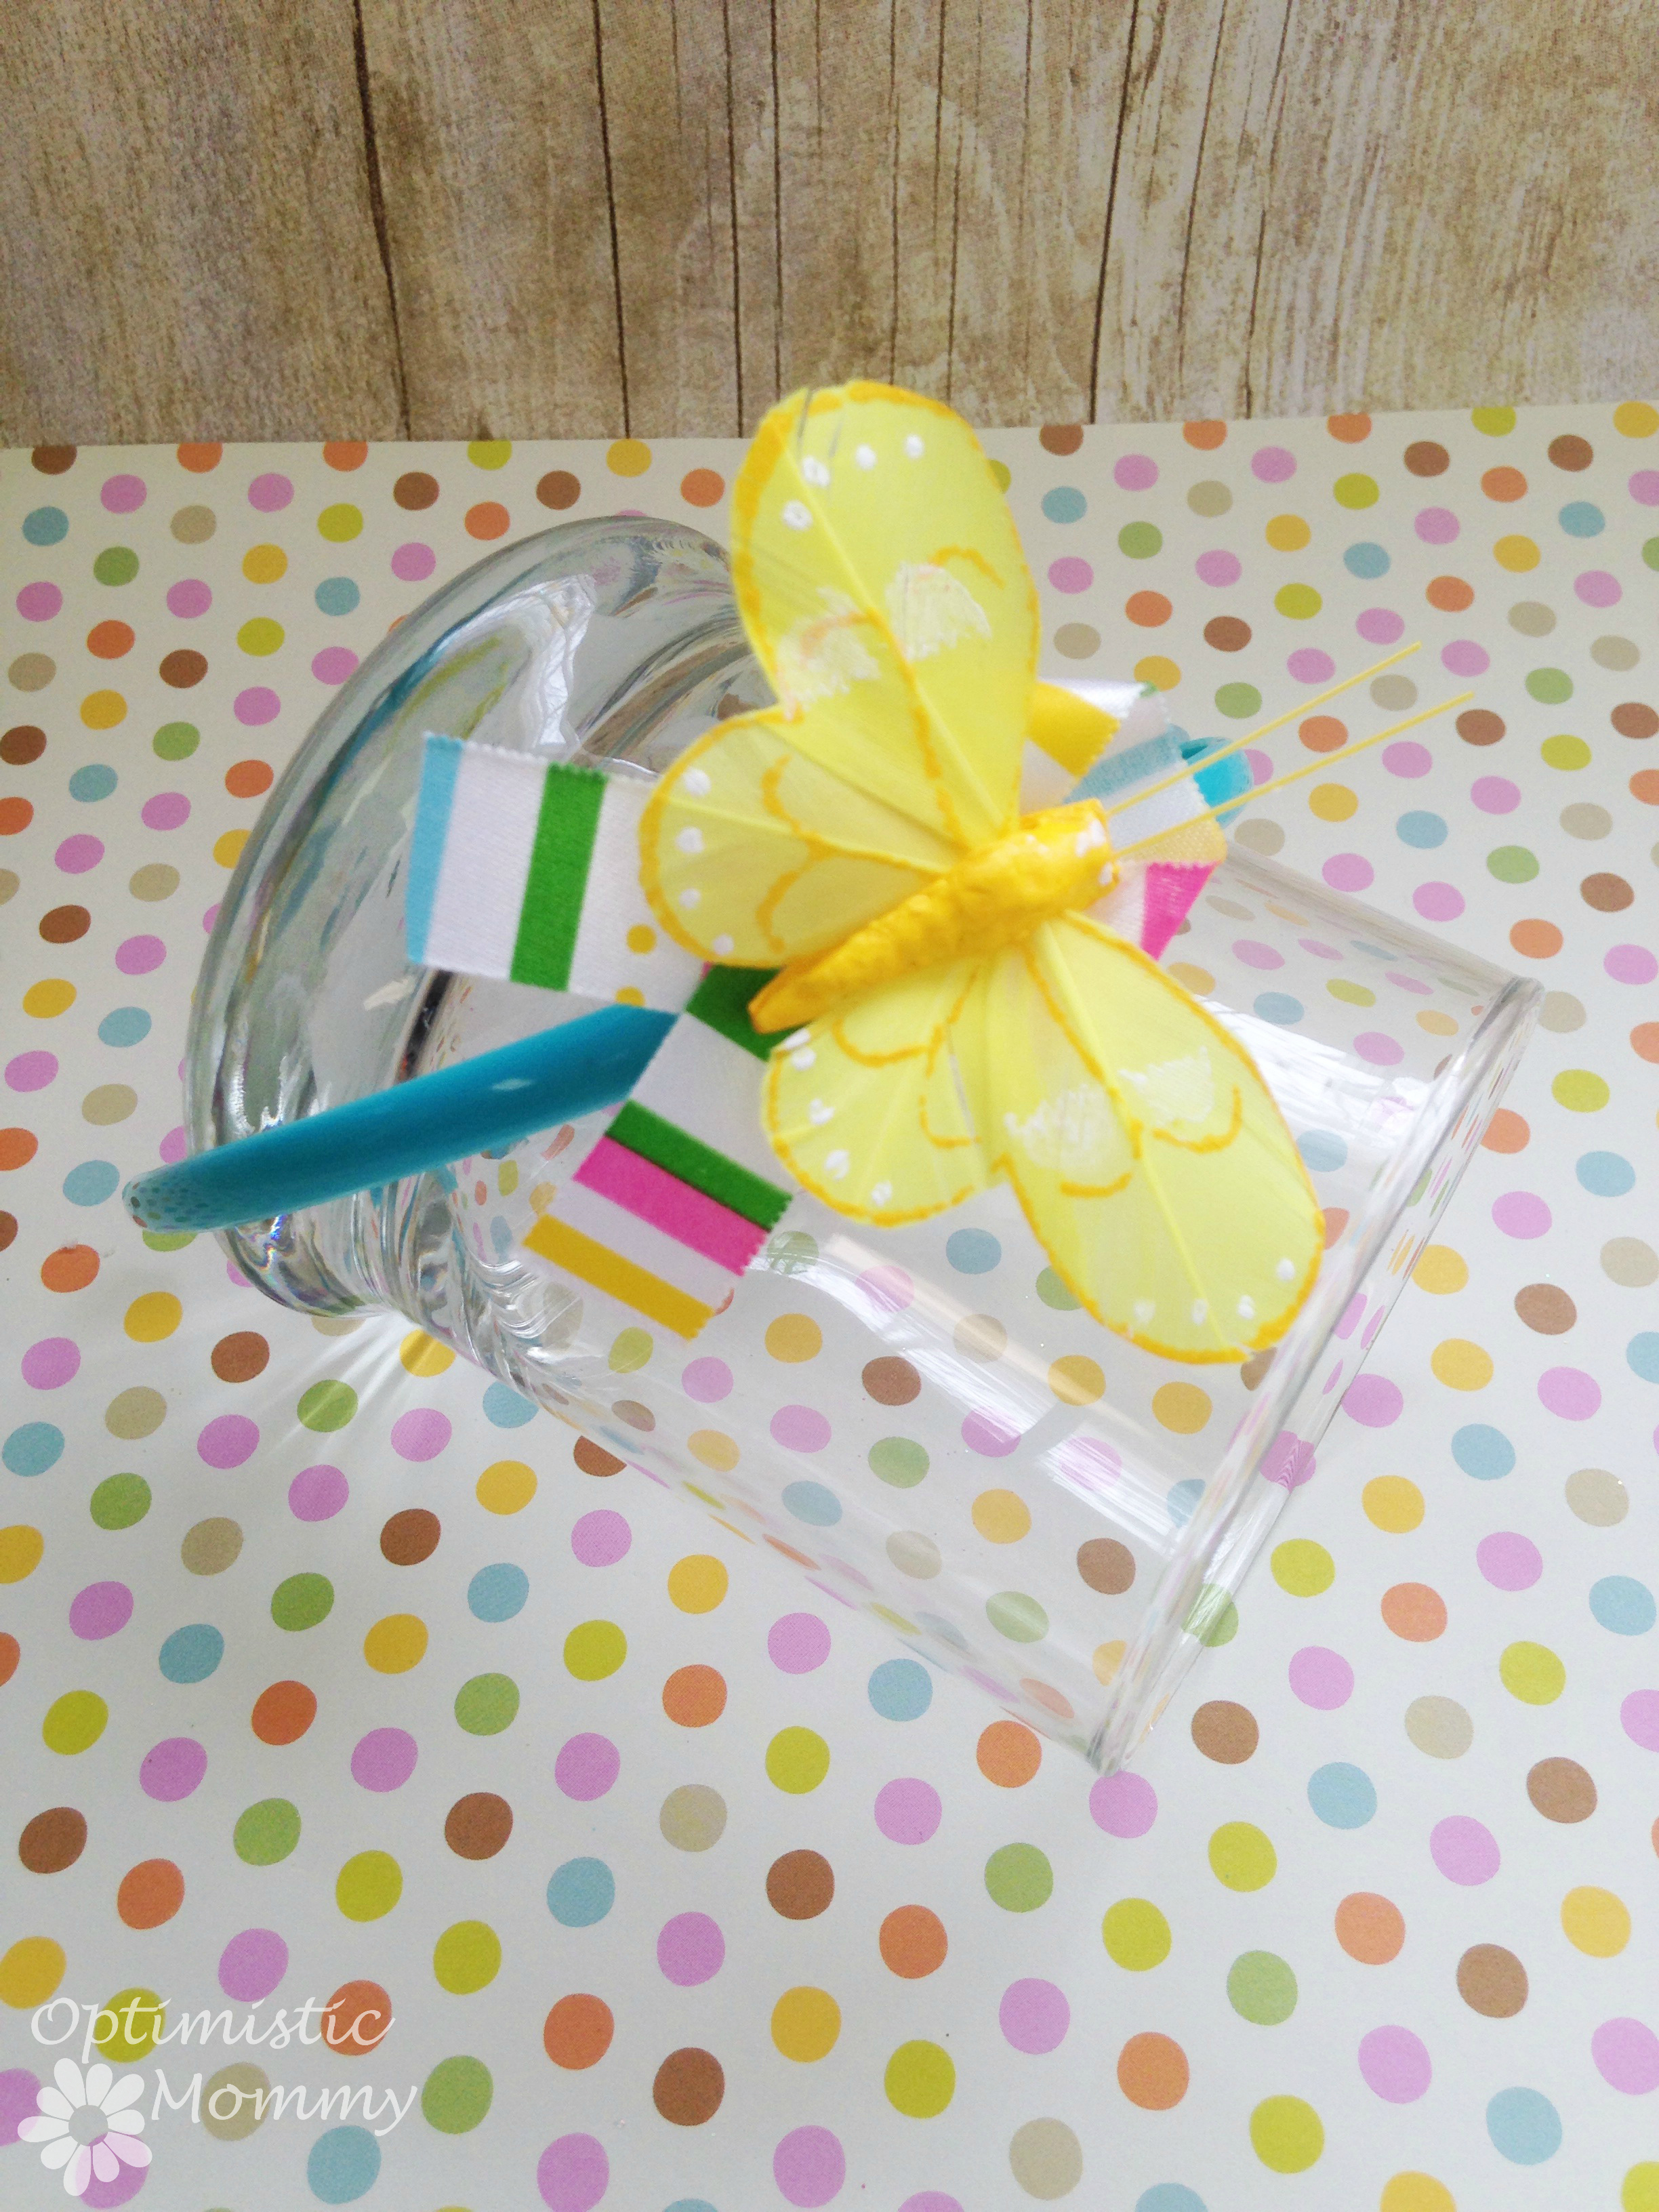
- Begin by cutting a length of ribbon that is about 3 inches in length. Fold it over as shown in the photo. Add a dab of glue to hold the ribbon in this shape.
- Add a dab of glue to the bottom of the ribbon and press it to the side of the headband. Hold in place until secure.
- Remove the wire from the bottom of the butterfly. Discard. Add a dab of glue to the bottom of the butterfly and press it over the ribbon. Hold in place until secure.
That is all there is to it! Your spring headband is now ready to be worn and enjoyed. These aren’t just fun to craft, they also make great Easter gifts and Easter basket stuffers.
Gather your supplies and see how for just pennies, you can make your own spring headbands just like the one you see here.
I’m a 20-something stay-at-home mother and wife. I have an amazing husband, a beautiful daughter, two loving dogs, and a lazy cat. I wouldn’t change my life for anything! I love to read, listen to music, cook and blog!

This is a great idea. So cute!!
Thanks for linking up at #PureBlogLove Link Party. The party goes live every Thursday night at 8 p.m. EST. and runs through the week end. I’m hosting at https://www.homemadefoodjunkie.com. I’d love to see more of your great ideas at our party!
This headband is adorable for a little girl! Thanks for sharing with us over at Motivational Monday!
Cute! Thanks for sharing at the #HomeMattersParty – we hope to see you again next week. 🙂
~Lorelai
Life With Lorelai
What a great idea! And a good reminder of the supplies you can get at the dollar store! I stopped by to visit your bunny ear headband post from the Made by You link party!
Super cute idea! Thanks for sharing at the party this past week. Hope to see you again soon at the Inspiration Spotlight party! Pinned & shared.