Standing in a sports aisle while your child swings a display racquet is not the ideal time to learn what head-light balance means. Specification labels list grams, square inches, and stiffness ratings, but they don’t always explain whether a racquet will be comfortable to use.
Fortunately, choosing a first racquet mostly comes down to size, weight, and comfort. This guide explains those decisions for adults and children, then offers a simple way to test a racquet before buying it.
Quick answers for busy families
- Start with racquet length and grip size. Other choices are easier once those fit.
- For most beginners, a slightly larger head provides more room for off-center hits.
- Choose a racquet that remains comfortable through a full practice session.
- If a player has elbow or shoulder trouble, consider a lighter, more flexible frame.
- Comfortable strings at a moderate tension matter more than premium strings at the wrong tension.
- Borrow or demo a racquet before buying whenever possible.
Step 1: Get the size right before anything else
Size is difficult to correct with accessories or a new set of strings, so check it before comparing colors, materials, or other features.
Junior lengths by age
Junior racquets are sized by length. General youth guidance starts at about 19 to 21 inches for children around ages 4 to 6, then moves through 23-, 25-, and 26-inch models as players grow. Most teenagers eventually progress to a standard 27-inch adult racquet.
Age is only a starting point. Height, strength, coordination, and experience also matter. A child should be able to hold the racquet, swing smoothly, and finish the motion without the head dragging toward the ground.
Avoid buying a racquet that is too long or heavy in the hope that a child will grow into it. An oversized frame can encourage awkward swings and make the game tiring.
Grip size made easy
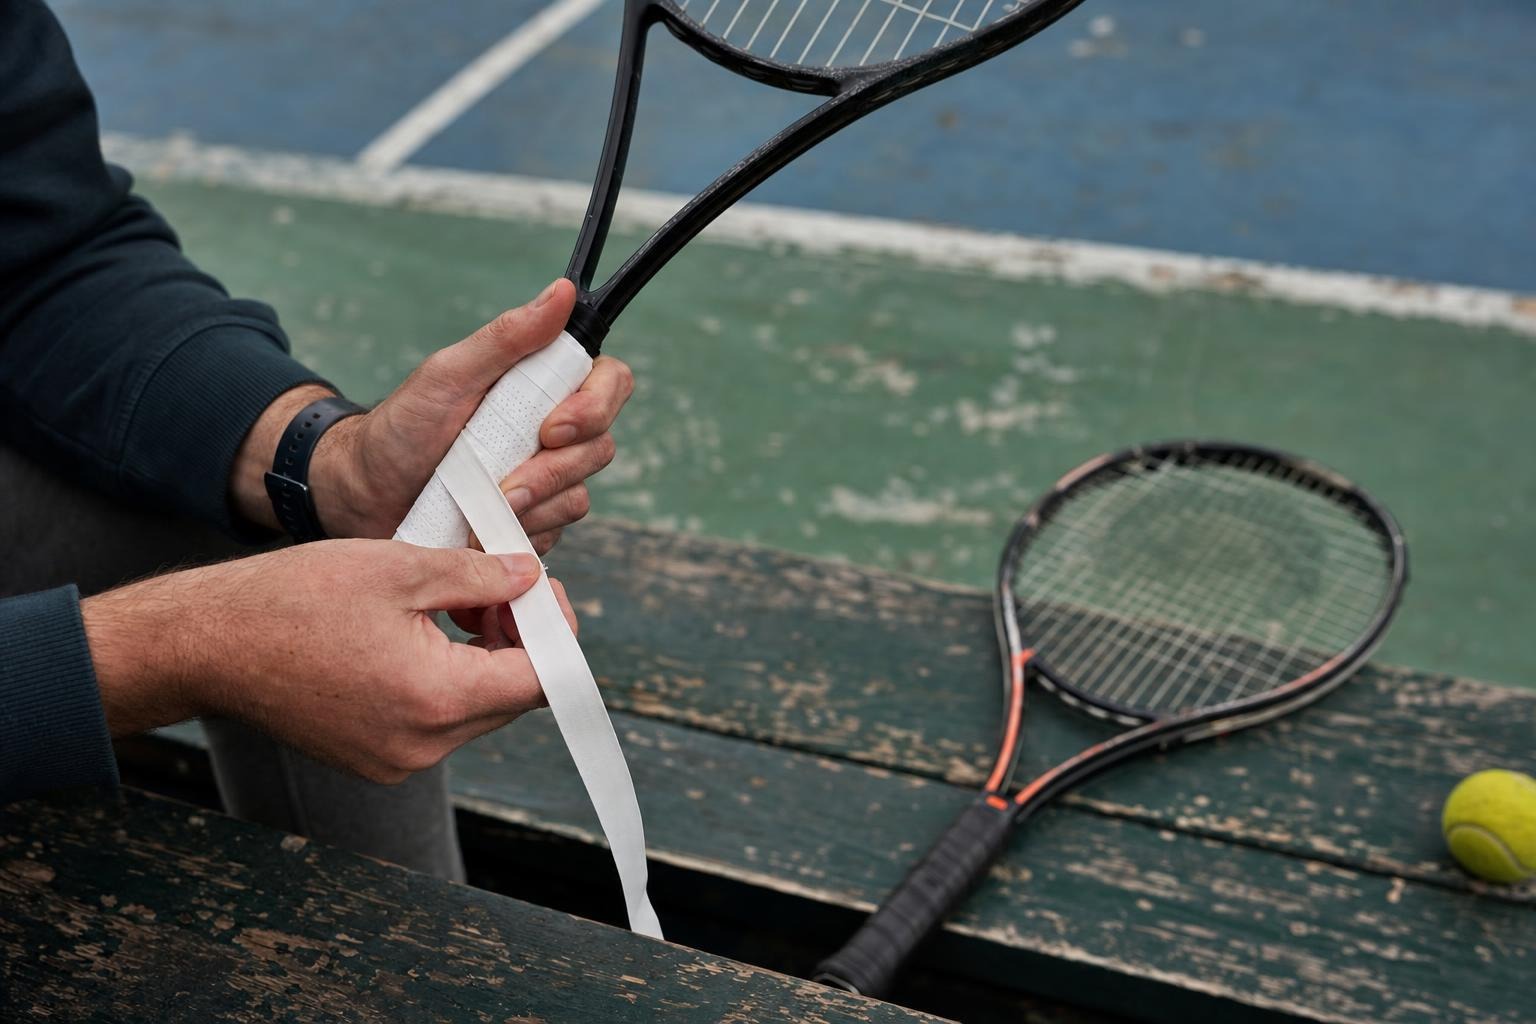
To check a grip, hold the racquet normally and slide the index finger of your other hand into the space between your fingertips and palm. The finger should fit snugly. If there is no room, the grip may be too small. A wide gap suggests it may be too large.
You can also measure from the middle crease of the palm to the tip of the ring finger. If the result falls between two sizes, the smaller grip is usually the safer choice because an overgrip can add thickness. Reducing a grip is more difficult.
Step 2: Balance power and control
You don’t need to understand every frame specification. Head size, weight, balance, and flexibility provide enough information for a useful first comparison.
Head size in plain English
The head is the strung oval, and its area is measured in square inches. A larger head creates a larger hitting area, which gives beginners more margin for off-center contact. Smaller heads tend to offer experienced players more precise feedback and control.
Many beginners are comfortable with a head size of about 100 to 110 square inches. Children and adults who are still developing consistent contact may prefer the larger end of that range. The best choice is still the one that feels manageable during a real hitting session.
Weight and balance without the math
Lighter racquets are generally easier to swing, while heavier models can feel steadier against fast shots. Balance describes where that weight is concentrated. A head-light racquet is often easier to maneuver, while a head-heavy model may add power but can become tiring.
Check whether a listed weight is for a strung or unstrung racquet before comparing models. Then hold the racquet at arm’s length for about 20 seconds and mimic several forehands and serves. If the shoulder tires or the swing becomes difficult to control, try a lighter option.
Step 3: Choose practical strings and tension
Strings affect comfort and response, but a beginner doesn’t need a specialized setup. Start with an affordable, forgiving option and adjust only after the player develops clear preferences.
Tension rules of thumb
Higher tension usually provides a firmer, more controlled response. Lower tension can provide more power and comfort. For a first setup, begin near the middle of the tension range printed on the racquet or recommended by the manufacturer.
A stringer can adjust from there based on age, playing style, and comfort. Avoid choosing a high tension simply because it sounds more advanced.
Step 4: Test before you commit
If possible, use each racquet for at least 20 minutes rather than judging it from a few practice swings in a shop. For Australian families, a tennis racquet specialist can be a useful place to check demo terms before committing.
Hit groundstrokes, serves, and volleys. Pay attention to how easily the racquet starts and stops, whether the grip moves in your hand, and what happens on off-center contact. Check how your hand, wrist, elbow, and shoulder feel during the session and the following morning.
Many clubs and racquet shops lend demo frames for a fee, and some apply that fee to a later purchase. Ask how long the demo period lasts, whether strings are included, and whether the test racquet matches the weight and grip size you plan to buy.
For Australian families, Sturdy Racquets lists a short demo rental program and a purchase credit on eligible racquets. These are the shop’s published terms, so confirm current prices, stock, and conditions before relying on them.
Step 5: Check the fit and avoid common mistakes
Pitfalls worth avoiding
Common mistakes include buying a heavy frame because it feels more serious, ignoring grip size, forgetting to budget for strings, and choosing mainly by color. It is also easy to compare an unstrung weight with another model’s strung weight, which can make two similar racquets look very different.
When comparing close options, place the specifications side by side and focus on length, head size, strung weight, balance, stiffness, and grip size. The comparison chart published by Sturdy Racquets can help Australian shoppers organize those details, while manufacturer and retailer charts serve the same purpose elsewhere.
When to upgrade
For children, growth is the most common reason to change racquets. Consider moving up when the current grip feels cramped, the frame looks noticeably short for the player, or a coach recommends a longer model.
A move from red, orange, or green training balls to standard yellow balls can also be a useful review point. A frame a child can actually swing is what keeps kids active in the sport, which matters more at this stage than any specification on the label.
Conclusion
Put fit and comfort first. Choose the correct length, check the grip, keep the weight manageable, and start with comfortable strings at a moderate tension. Other details can be refined as the player gains experience.
The right first racquet isn’t necessarily the most expensive or technical option. It is the one a player can swing comfortably, control with confidence, and enjoy using for a full session.
FAQs
Do I need an expensive string?
No. A comfortable multifilament or synthetic gut string at a moderate tension suits many recreational players. Correct tension and regular replacement matter more than buying a premium string that doesn’t suit the player.
What racquet length should my child use?
Start with a junior length that your child can swing smoothly and control comfortably. Age charts are helpful, but height, strength, and coordination matter too. Avoid choosing an oversized racquet just to make it last longer.
Can a beginner use an adult racquet?
Yes, if the player is large enough to manage a standard 27-inch frame comfortably. Younger children usually do better with a shorter junior racquet that lets them develop a natural swing.
How do I know if a racquet is too heavy?
A racquet may be too heavy if the shoulder tires quickly, the head drops during the swing, or control fades during practice. Trying it for a full session is more useful than judging it from a few swings.

Hey welcome to my blog . I am a modern women who love to share any tips on lifestyle, health, travel. Hope you join me in this journey!

Speak Your Mind