Ordered a few inches extra and now you don’t know what to do with it? People who choose to lead the increasingly popular DIY lifestyle quite often experience this conundrum. Whether you’re in it to save costs, spend quality time with loved ones, or just to revel in the sheer satisfaction this way of life provides; you’re bound to run into a few hurdles along the way. Not having the seasoned professionalism or industrial grade equipment means we often get our calculations off and end up ordering more material than required. Whilst in other cases, this doesn’t present that big of a debacle, it does have considerable repercussions when dealing with glass. Because now you have to CUT it. The thing we are encouraged since pre-school to steer clear of.
However, once you make up your mind, you will find that glass isn’t all bad. Especially not as bad as people make it out to be; Hollywood being an exception of course (Dwayne Johnson can go through sheets of glass without even getting a scratch). For this blog, we will tackle a very specific type of glass, which is the trickiest to cut; i.e., Tempered glass.
How is tempered glass different from other types?
Tempered glass is specifically engineered in a way to make it safe and therefore suitable for household projects. Thing is, when tempered glass breaks, it shatters into a million tiny crystals which pose a significantly lesser threat than the giant dangerous shards normal glass breaks into. This is why tempered glass is also called safety glass. Good right?
Unfortunately, this also means it will shatter into a million pieces when you deliberately try to cut it as well rendering it completely useless. So can you cut tempered glass? Just follow the steps below.
How to cut tempered glass?
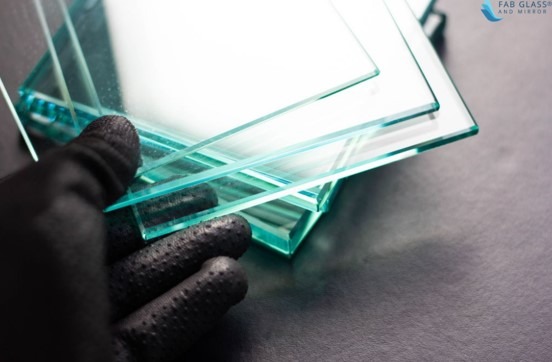
- Safety first. Whenever dealing with glass, even safety glass, it is extremely crucial to have protective gear in case a shard comes flying at your face. If you’re fully invested in the DIY lifestyle, chances are you already have these. However, in case you don’t, go grab a pair of worker’s gloves and some safety goggles from your nearest store.

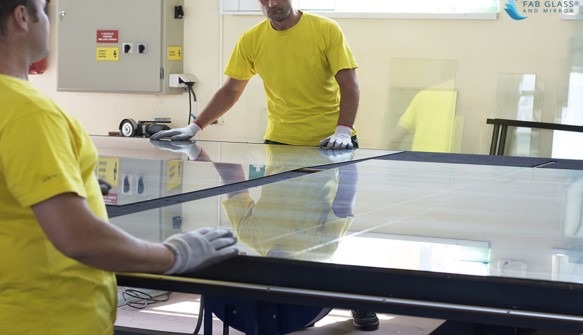
- Prep the glass. Before you go to town on your glass slab, it is important to thoroughly clean it with a soft cloth and preferably a glass cleaning liquid. The cleaner the better. Leave it to dry afterward. Make sure your glass is spotless before you begin.

- Anneal the glass. This is a technique used to un-temper the glass so to speak. Place the slab in a craft oven and bring it up to a temperature of 900 degrees Fahrenheit. Upon reaching the desired temperature, turn off your oven and let the glass cool inside the oven for about eight hours. This should be enough to anneal your glass, resulting in it not shatter when cut. We’ll spare you the science behind it.
- Set the stage. Pull out your glass slab and place it flat on an even surface. Put a T-square on top of the area you wish to cut. Additionally, you may want to dip your cutter into kerosene oil. This allows for a smoother cut.
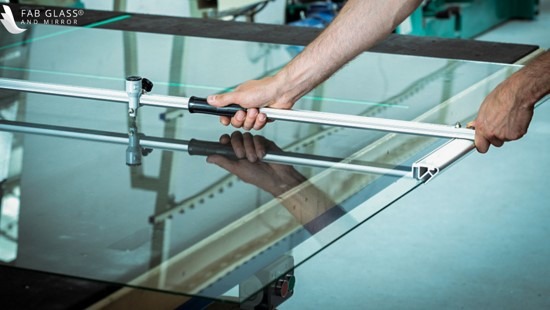
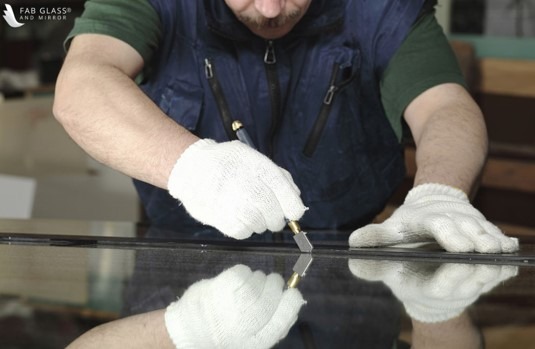
- Run a fine line across the glass. This is where things get interesting. Arrange your cutter at the optimal position and cut a fine line down the edge of your square. Remember to not apply excessive pressure on the glass, as it doesn’t need to split at this point. It is also important to not run the cutter over that line again. It should be one smooth motion down the slab.
- Splitting the glass. Once you’re done with marking the line, place a dowel underneath the line and position one hand on either side of the glass. Gently and gradually start pressing down simultaneously from both sides. If you’ve followed this tutorial to the T, your glass will split into two separate beautiful pieces. It is recommended to do a victory dance at this point.
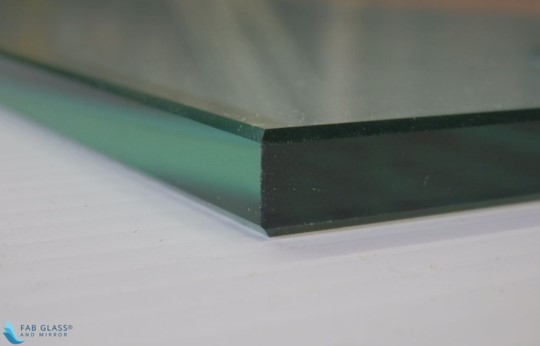
- Finishing it off. Now that you have your two pieces or one adequately sized piece. Procure a whetstone and use it along the edges of the glass. This procedure makes the edges smooth, facilitates ease of transportation, strengthens the glass, and makes it look a lot more appealing.
- Re-tempering the glass. You’re not off the hook yet. Yes, you have successfully split your glass, but you are now left with an un-tempered slab that needs to be tempered again. So, don’t take off your protective gear just yet and grab some tongs.
- Light your craft oven again and maintain it around 600 degrees Fahrenheit. Carefully place your glass sheet inside using the tongs you procured earlier, and let it heat until it displays a shiny, film-like texture.
- Remove your sheet from the oven and place it on a surface fashioned from cement. Don’t have one? Placing your sheet on a surface of aligned bricks also does the job. Press down on the edges using a spatula, which allows the glass to cool uniformly. Otherwise, it will be tempered in some places and remain un-tempered in others.
Time for quality inspection. Put on your polarized glass and examine your sheet while passing light through it from a nearby source. This should enable you to see a dense grid-like structure of markings colloquially called quench marks. If they appear to be intricately dense and even enough, your tempering was successful. Marginal warping around the edges is expected so do not bash your spirits because of that. Just grab that cutter and scrape them off. Stand back and admire your work.
Technical? Yes. Hard work? Surely. However, extremely rewarding if done right. DIY lifestyle all the way.
I’m a 20-something stay-at-home mother and wife. I have an amazing husband, a beautiful daughter, two loving dogs, and a lazy cat. I wouldn’t change my life for anything! I love to read, listen to music, cook and blog!

Speak Your Mind