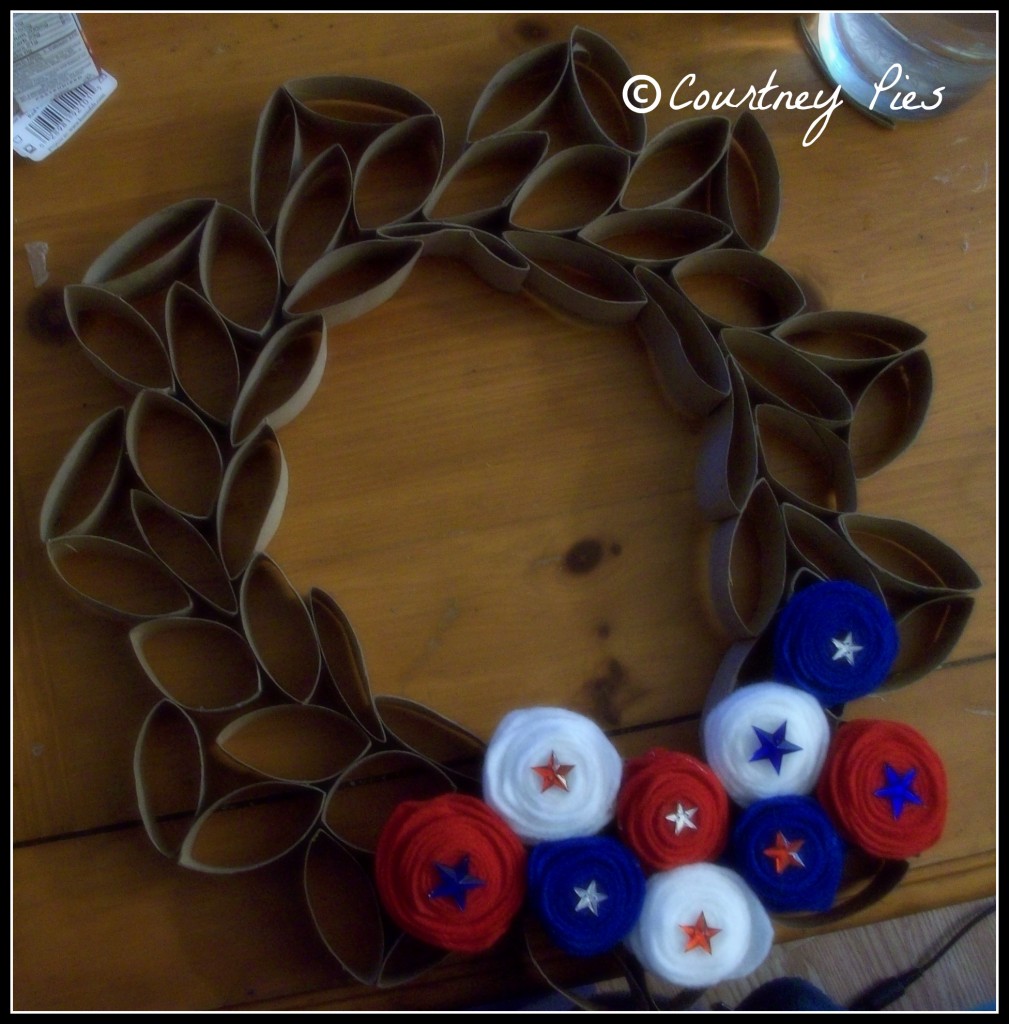
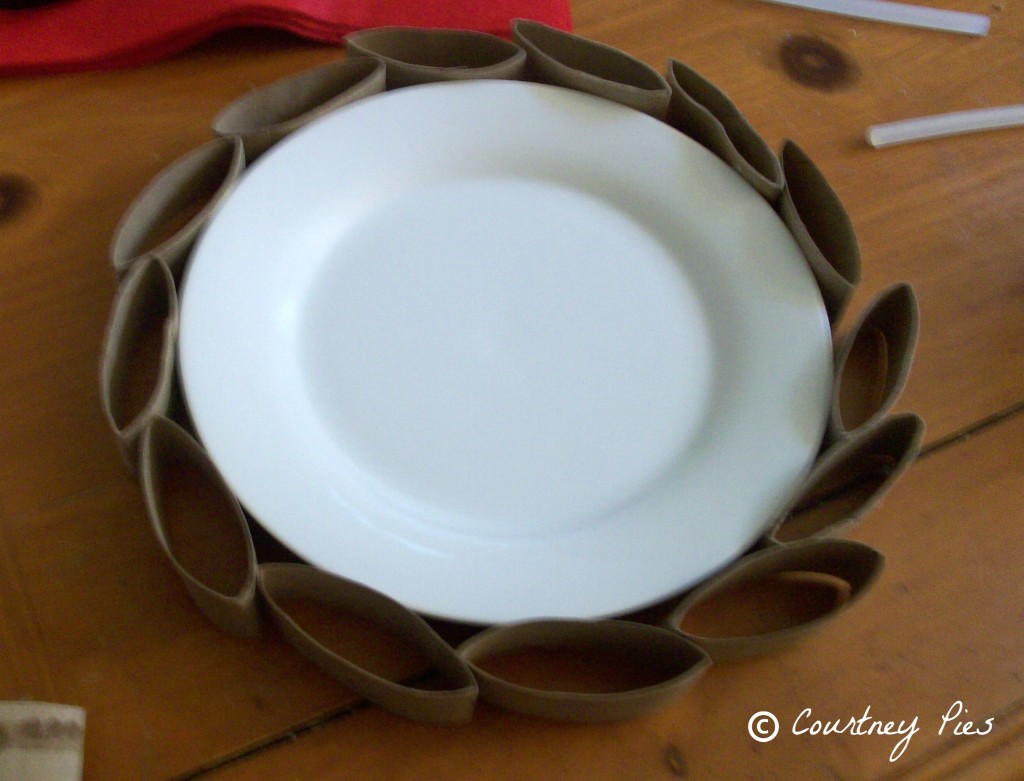
This toilet paper roll wreath is easy to make and a great way to upcycle old toilet paper rolls. Toilet paper art is an affordable way to decorate your front door or even a wall in your home. Add some colorful felt flowers and you have one gorgeous toilet roll wreath for the home.
I was fortunate enough to be chosen by Mom Central to throw a Cottonelle In-Home party. I invited ten of my friends and family. Unfortunately, only my mom was able to come to the party, but we still had a lot of fun.
Toilet Paper Roll Wreath
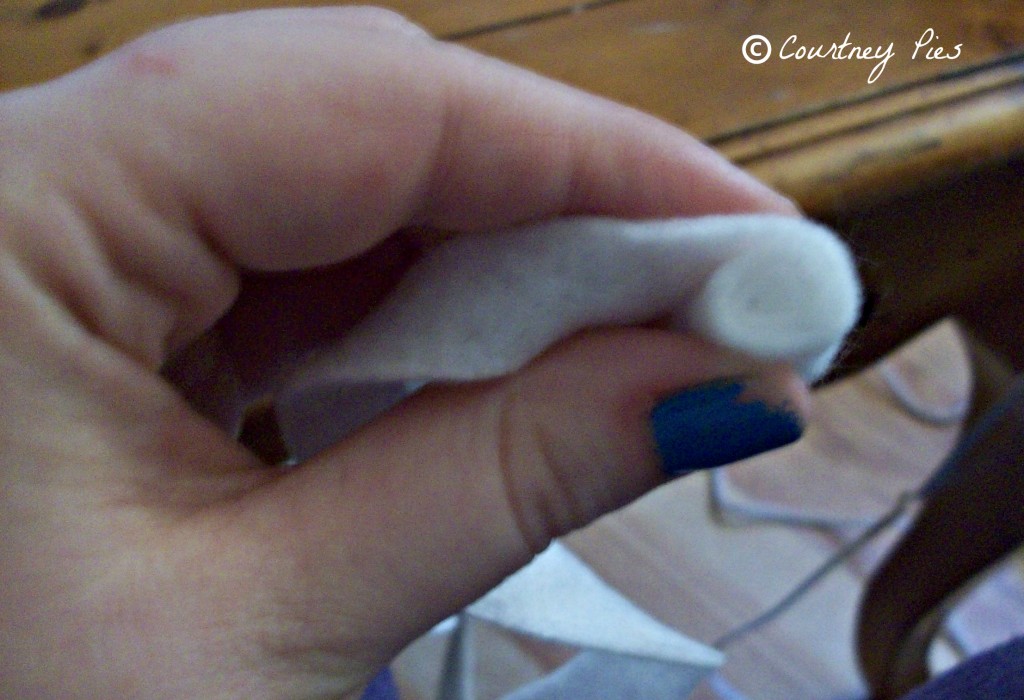
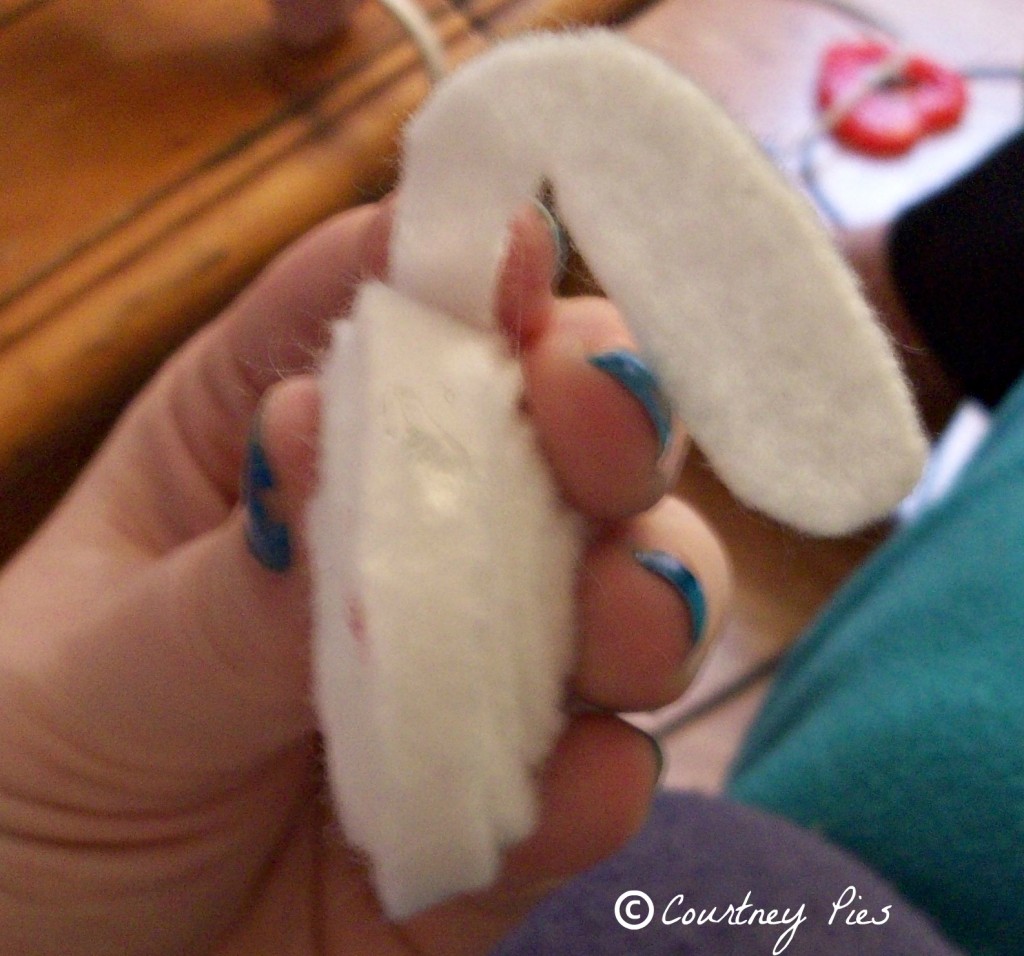
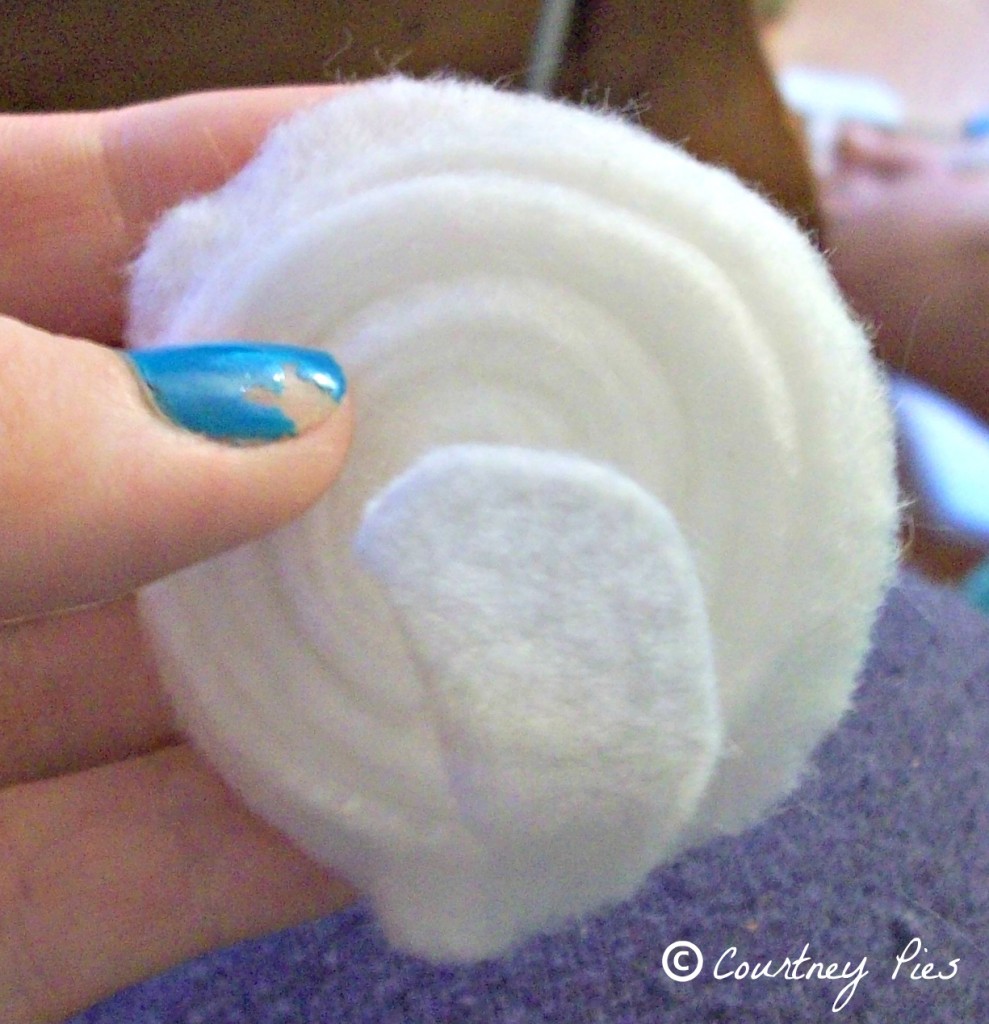
We made the beautiful wreath you see above, and I’m going to teach you how to make your own! Just click ‘Continue Reading’ below to see the tutorial!
More Easy Crafts
- 12 Mason Jar Crafts
- DIY Fabric Flag (4th of July)
- Button Framed Initials
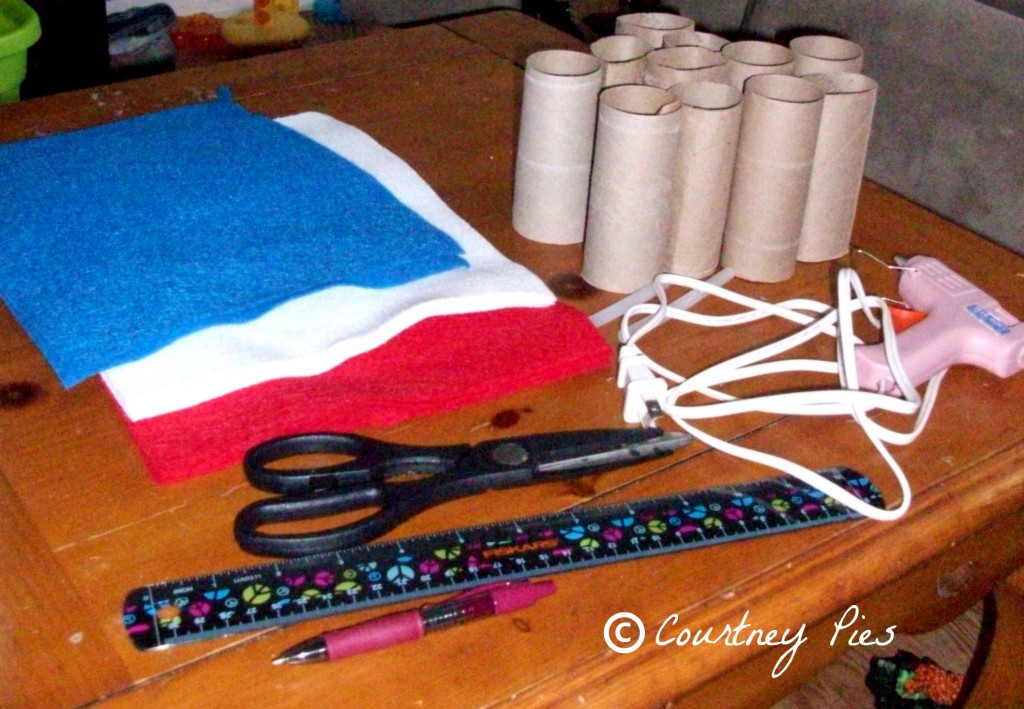
Supplies for Toilet Paper Roll Wreath
- 5-7 Toilet Paper Rolls and/or Paper Towel Rolls (I used about 5 toilet paper rolls and 1 paper towel roll.)
- Scissors
- Ruler
- Pen/Pencil
- Glue Gun and Extra Glue Sticks
- Small Plate (I just used a salad plate.)
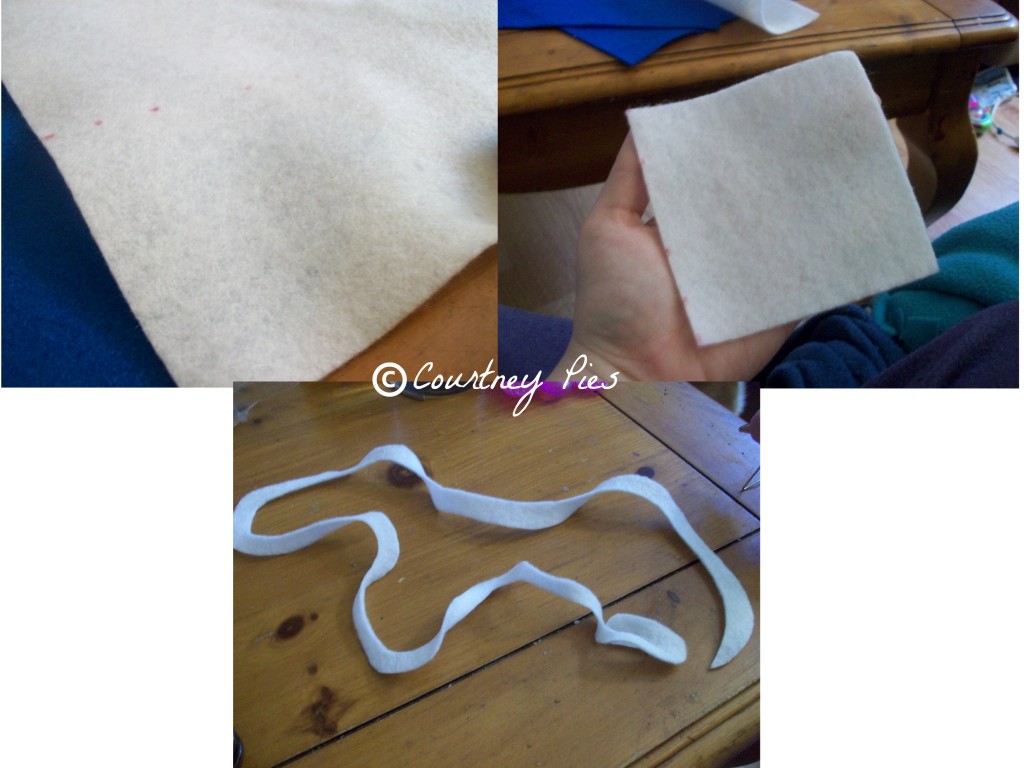
- Felt (I used red, white and blue because I wanted a patriotic wreath. You’ll need 3 sheets total.)
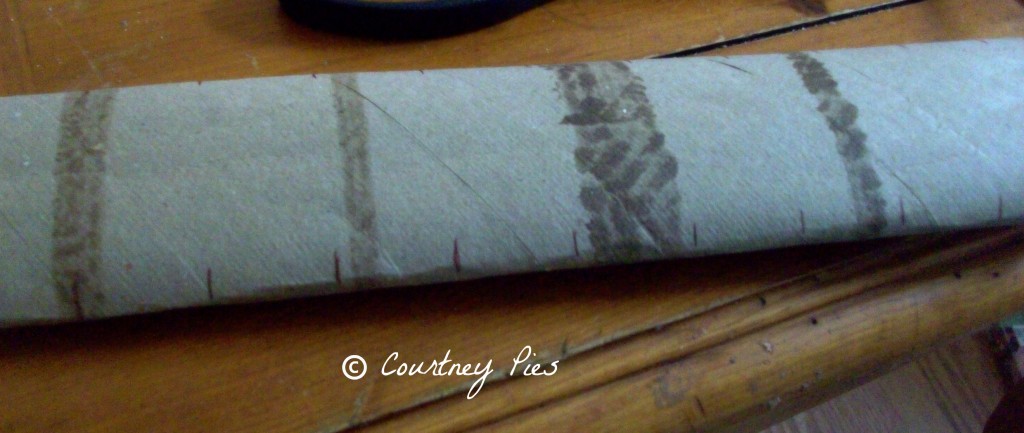
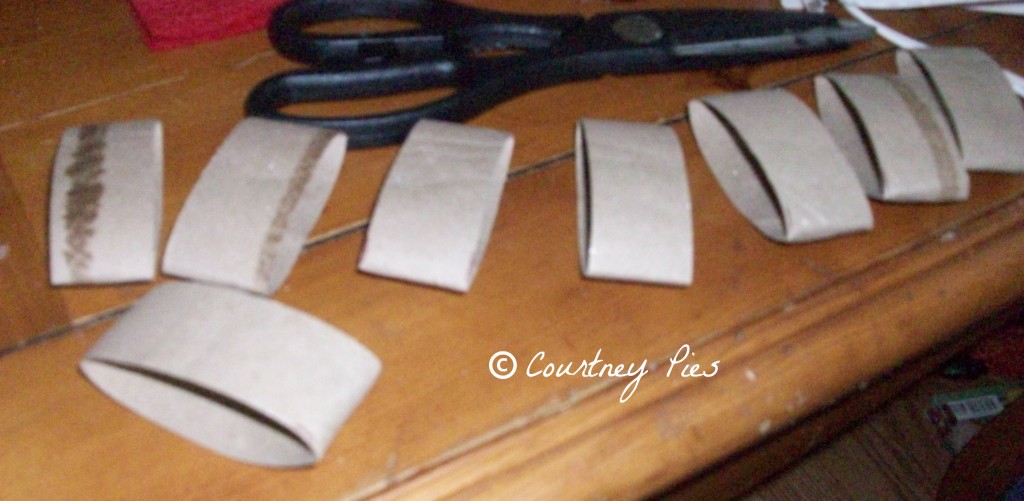
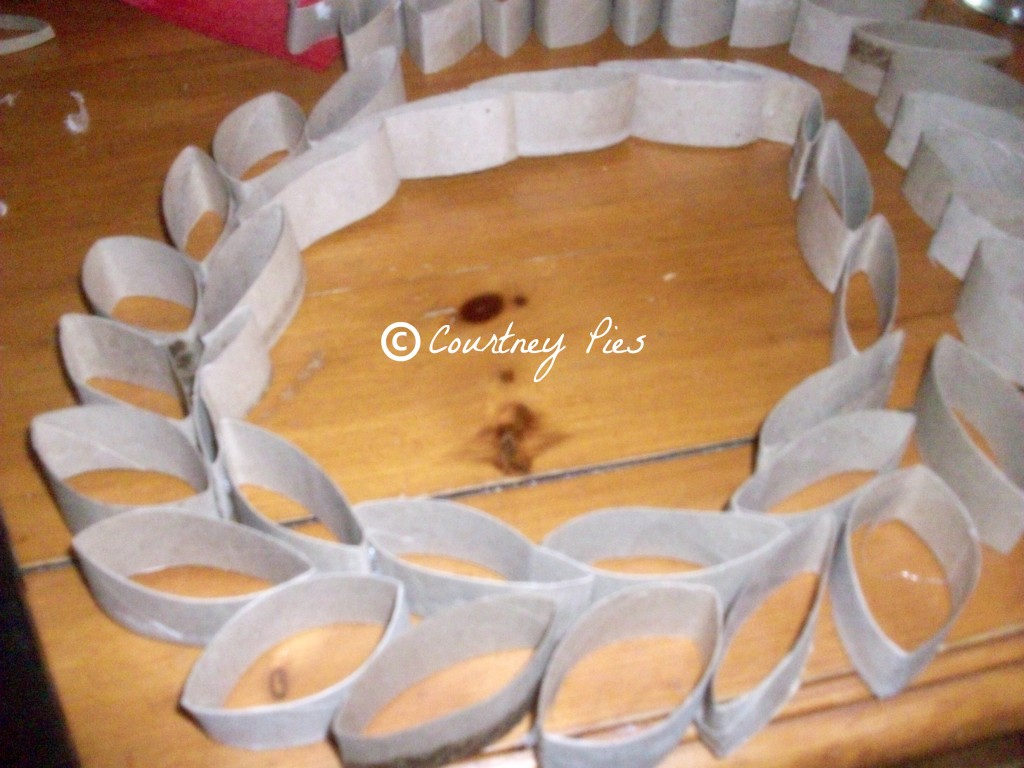
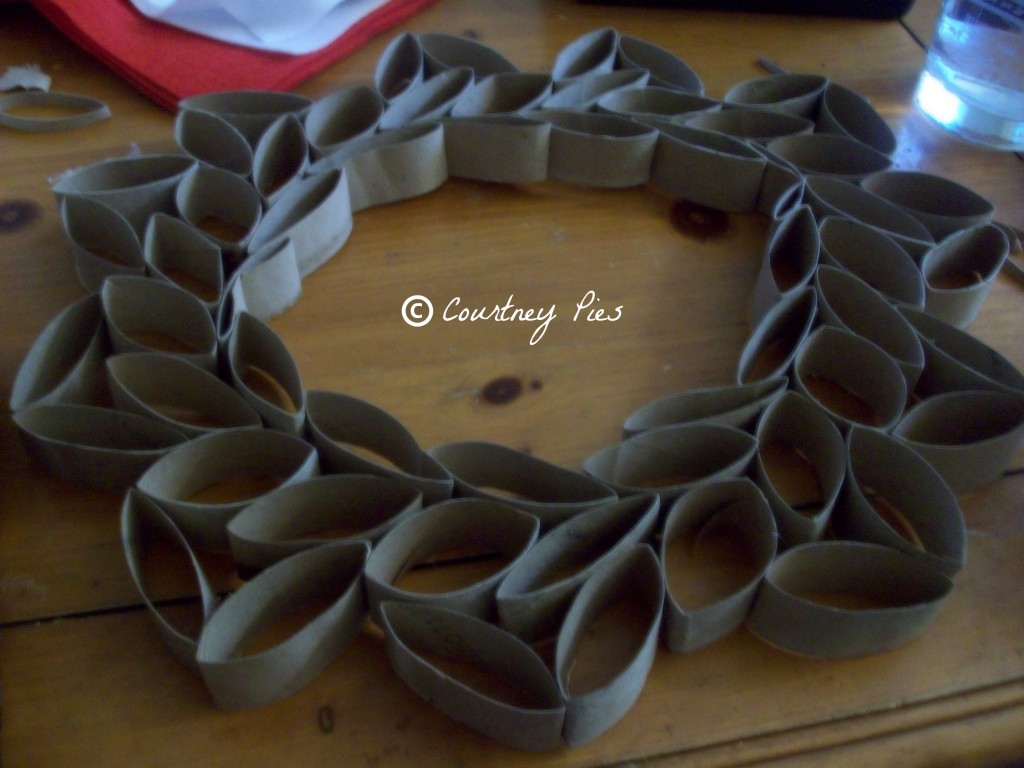
How to Make Toilet Paper Roll Wreath
I participated in a campaign for Mom Central Consulting, on behalf of Cottonelle, and received product samples and a promotional item to facilitate my party.
I’m a 20-something stay-at-home mother and wife. I have an amazing husband, a beautiful daughter, two loving dogs, and a lazy cat. I wouldn’t change my life for anything! I love to read, listen to music, cook and blog!
Very good instructions! I would love to see a picture of the Final product. Did you come up with the design and materials… very neat.
The very first picture at the top is the final product. I saw a wreath that was similar on Pinterest and it didn’t have instructions with it, so I just came up with it on my own. 🙂
I think this is a great idea and I enjoyed reading your step by step instructions. I would love for you to do more crafts using this concept. By the way – I will be saving my TP rolls to make one of these myself.
Thank You
I’m glad to hear someone will be making one of their own! 🙂 I plan on doing one for each holiday.
Thank you so much for stopping by! 🙂
This looks great! With 3 in this house I should have enough rolls to try making this in no time! Stopping by from Moms Do It Better. 🙂
Thank you so much for stopping by, Ashley! 🙂
Very nice!! Looks good, I am going to try to make one.
It’s a lot of fun making it! Thanks for stopping by!
Well my goodness! Who would have thought? This would be a really affordable way to make seasonal wreaths. I have to admit that I am a little dangerous with a glue gun!
I thought I would be more dangerous, but I only got myself with the glue gun once! Lol. I’m planning on making one for each holiday. 🙂
Thanks so much for stopping by!
Wow, so cool 🙂 yet another great recycled project for the paper toilet roll, yeah. Love the idea of how you used the plate to keep it all together. Great job!
Thanks so much! :0
Fantastic! I pinned it 😉
Thank you for pinning it! 😀
Sounds like a lot fun. All our tp rolls go to the gerbil though.
Aww. Well that’s understandable! (Gerbils are so cute, by the way!) 🙂
I’m always looking for crafts that use toilet paper rolls–we have enough of them! This is really cute. My kids are little–only 2 and 4–so they can’t use the glue gun, but I was thinking that I could help them paint the cardboard rolls different colors before we cut them up and make the wreath. That would keep them involved, even though I would have to do the gluing. Thanks for a great idea!
They would love painting them! I plan on doing that with my daughter when she gets a little older. 🙂
Thanks so much for stopping by!
Very cool! What a great idea!
Thanks! 🙂
What a fun idea. It looks pretty straight forward too! I was thinking before you add the flowers you could spray paint if you wanted to. Fun!
WOW!! I love this. As simple as it seems, it is so pretty! Thank you for sharing!
Courtney! This is so neat! Great tutorial and pictures – speaks to people who learn by reading and learn by seeing pictures. And the final product is great! Fun!
What a great idea! My creative side doesn’t manifest itself at all in crafts, but I admire people who come up with these great ideas. I, too, would love a photo of the final product.
Very cute! Awesome way to reuse and recycle! Love it
This is a great idea! Especially for a rainy day project or something to keep the kids busy. You are very creative!
Cute!
Very cute!
WOW what a great way to re-use these! Thanks for sharing!!
This is great! I love diy projects and this is so creative. I’ll have to start saving my rolls for one of my own. Your step by step instructions were lovely and helpful. Glad I found this post. 🙂
Such a cool idea! And great detailed instructions with pictures. It always amazes me to see how many wonderful decorations we can make for our homes by using everyday items. Awesome! 🙂
This is definitely a unique idea; one that I never would have thought of on my own. When I was a kid toilet paper and paper towel roll projects were all the rage. I think it’s time to step back in time! I’d love to try this! Let the collecting begin!
Very cute – following about the same technique for your wreath – you can make snowflakes out of the rolls too. Paint them, add glitter and they are really quite cute.
I cannot, cannot, can not believe this precious wreath was made using toilet paper rolls. How unique! I like reusing items and what an unusual one to reuse. You could also use paper towel rolls and not have to have so many. Of course, the way we go thru tp at our house, …just saying…. Thank you so much for sharing your creativity born of another. I love taking an idea and making it mine. Have a great day!
Wow, wonderful blog layout! How long have you been blogging for? you made blogging look easy. The overall look of your web site is excellent, let alone the content!. Thanks For Your article about Toilet Paper Roll Wreath Tutorial! .
Oh how cute, what a great upcycle project 🙂
Now I know what to do with all those empty rolls 🙂 I host a party on Tuesday called The Gathering Spot and would love it if you’d share something. Thanks for joining us at the Let’s Get Social Sunday link party! Have a wonderful week 🙂 Diane @MamalDiane
Very cute! I love projects that recycle 🙂 Thanks so much for sharing on The HomeAcre Hop! I’d love to see what you’ve been up to this week 🙂
https://www.theselfsufficienthomeacre.com/2013/06/the-homeacre-hop-22.html
What a fun way to repurpose toilet paper rolls. Thanks for sharing at Silver Pennies Sundays. x
What a great way to recycle tp into something creative! Perfect to do with the kids!