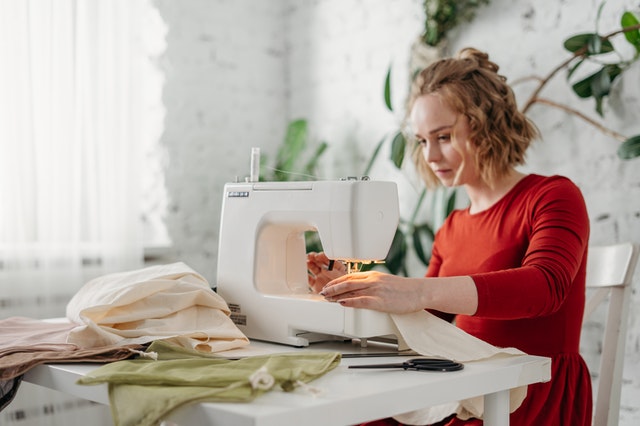
Whether you’re new to sewing or play the occasional seamstress from time to time, some techniques can help you stitch like a seasoned pro in no time. Snazzy Needle believes that developing these techniques early goes a long way to improve one’s skills while also making their journey more fun. Here are the basic techniques for sewing every beginner should learn about.
Beginner Sewing Techniques
Perform routine seamstress tasks with ease and efficiency by mastering these fundamental stitching methods:
1. Zigzag
Adding a personal touch to your creation sometimes calls for something fancy. While you’d normally seek out a more seasoned sewist than take the task on as a newbie, learning how to do zigzag patterns should allow you to take matters into your own hands.
Before taking on the zigzag using a professional sewing machine, master it first in hand and beginner-machine sewing. That means knowing what type of needle and thread goes with a specific fabric. The alignment of these three elements is what helps successfully conceal broken stitches.
Also, there are times when stitching in a straight line won’t be an option. Thus, you may need the zigzag technique to fall back on.
2. Applique
This basic technique calls for sewing a piece of fabric over another to produce a pattern or design. It can be done by hand or machine, though the latter should help you apply the method faster and properly. A machine also lets you perform more detailed stitchwork with ease, such as sewing a fabric’s raw edges covered with decorative stitching.
That said, actual handiwork still plays a part in this technique. Detailing that involves applying glue to a piece of fabric and attaching it to the main creation should be done strictly by hand. When it comes to choosing the right machine for your projects, the Baby Lock range offers a variety of sewing machines that cater to different skill levels. Whether you are a beginner looking to learn the basics or an experienced seamstress in need of a machine that can keep up with your advanced skills, there’s a model designed for your needs.
3. Seams Finishing
More often than not, seams are visible on the fabric’s interior. Contrary to what some beginners believe, this does not look pretty.
Seam finishing ensures no tolerance for any less than cleanliness in a finished product, both outside and inside the garment. A pristine finish should be the norm and must be practiced early on in the journey.
Using a pair of sharp pinking shears, cut a long strip of the same fabric used in your creation. Stitch that fabric over the visible seams cleanly to produce a pristine finish.
Another option would be to use a different colored fabric to add character to your dress. Regardless of what color strips are used, the result should be satisfactory when the stitching is kept clean.
4. Zipper
Zipper sewing is a route beginners normally avoid because of its complexities. There should be nothing complex about it when you use the right tools.
The keys to installing a zipper correctly are to:
- Use a zipper that goes with the garment.
- Fold the sides of the clothing during application to avoid blunders.
- Check if the zipper works once installed.
- Stick to the basic zippers instead of the fancy ones when practicing.
- Attach zippers from the backside if you’re a beginner.
- Mark the sides of the zipper and stitch point-to-point.
5. Understitching
Understitching could be a requirement in sewing strap shirts, so the finished product looks presentable. To do it, you first need to make sure the right straps are used. Measure your shoulders and how far down you want the shirt to go. The right sides should be kept and sewn together for understitching to be done correctly.
Ironing is also part of the technique. Forego ironing the garment’s right side, and you will never be able to create the necessary shape in those seams. You must iron in a way that creates a crease on the garment so that the stitching settles correctly.
Shorter stitches are recommended as opposed to longer ones. These allow the design to settle down easily and save time on ironing.
6. Velvet Fabric
Velvet fabrics can be intimidating to some beginners. You may realize soon after stitching these fabric types for the first time that you’re biting off more than you can chew. The technique is to start this journey phase with a machine instead of your hands.
An affordable beginner sewing machine should suffice. Velvet tends to move or slide around a lot, so focus on taking control of it when you stitch. Maintain a tight hold on the sides with every stitch, so the product comes out looking satisfactory at the very least.
Also, flip the fabric over when you iron; iron lightly to prevent the fabric from looking dull.
Sew Like a Pro
To some, sewing may seem like a piece of cake. Sometimes, people can be so confident in their skills that they forgo the basics and jump right to the fancy machine-work. Most of the time that won’t go over well.
Like other processes, sewing comes with fundamentals crucial to mastering the craft. The above stitching techniques serve as the foundation for advanced seamstressing work and are essential for beginners to master early on to achieve success in the craft.
Hey welcome to my blog . I am a modern women who love to share any tips on lifestyle, health, travel. Hope you join me in this journey!

Speak Your Mind